How to Wrap a Bottle in Tissue Paper for a Special Touch?
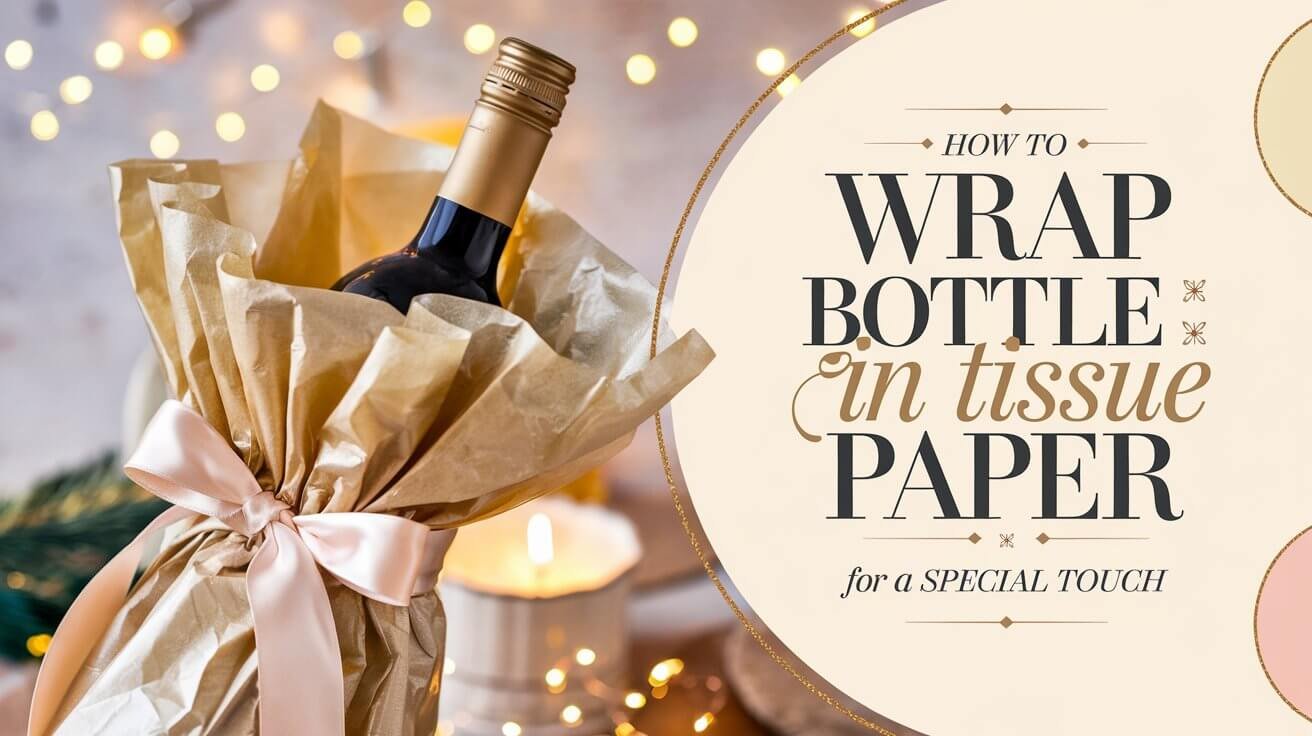
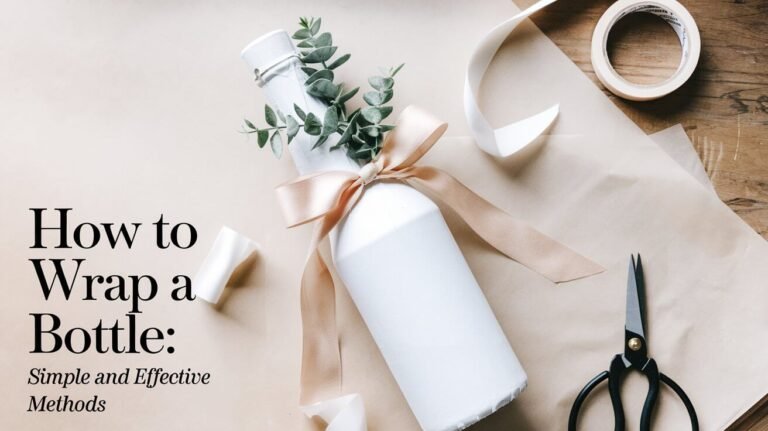
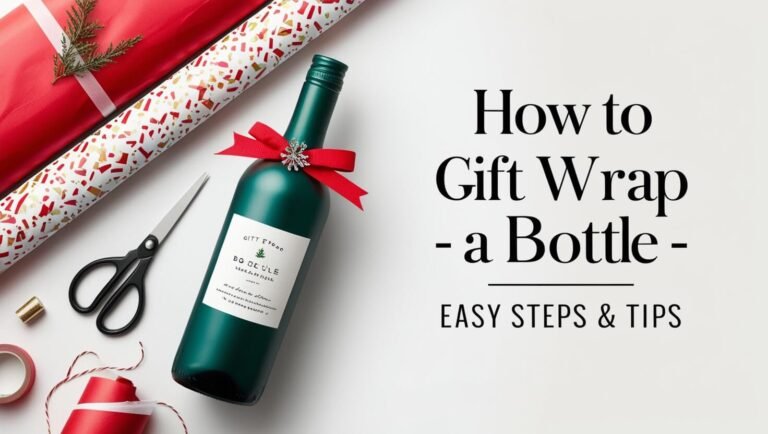
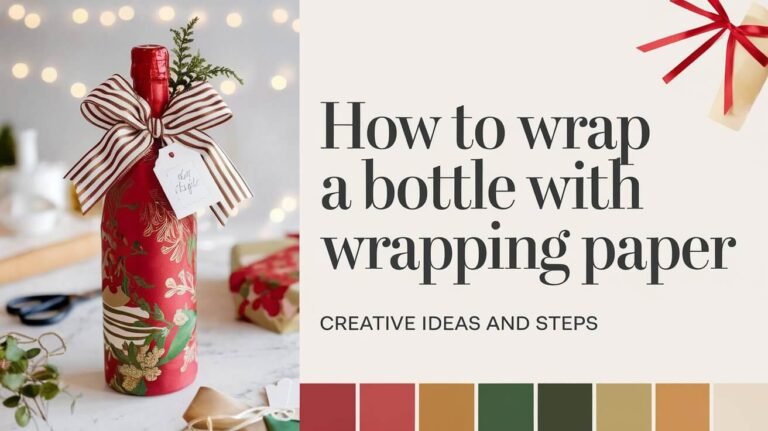
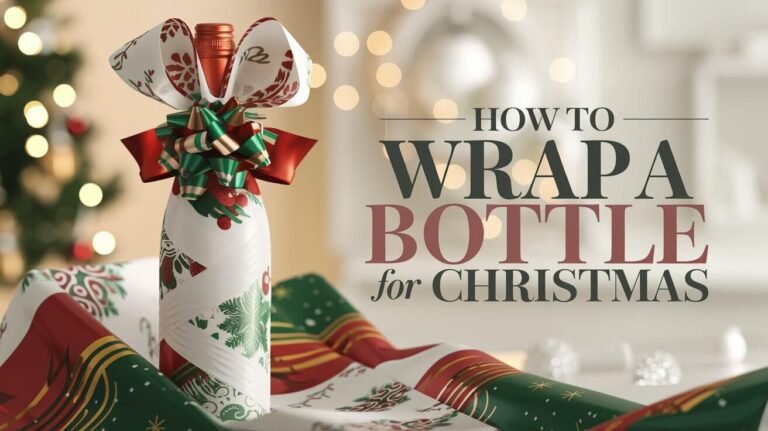
Want to make your gifts stand out? Learn how to wrap bottles in tissue paper. This guide covers everything from wine bottles to Champagne. It shows you how to turn simple bottles into beautiful, shareable gifts.
But is it more than just a pretty wrapping? Could it be the secret to wowing your loved ones and making a memorable impression?
Essential Materials for Bottle Wrapping
Wrapping a bottle can be a fun and personal way to give gifts. Whether it’s wine, champagne, or any other drink, you’ll need some key items. These items will turn a simple bottle into a beautiful present. Let’s look at what you need to make the perfect bottle wrap.
Types of Tissue Paper
Tissue paper is the base of bottle wrapping. The type you pick can really change how it looks. Choose thin, shiny tissue paper. It’s easier to work with and makes your wrap look smooth and elegant.
Additional Supplies Needed
- Cellophane wrap or clear plastic bags for extra protection
- Double-sided sticky tape or glue to hold the tissue paper
- Scissors, preferably crafting or gift-wrapping scissors, for precise cutting
- Ribbon, twine, or string to add a decorative touch
Optional Decorative Elements
To make your bottle wrapping even better, think about adding extra touches. These can include:
- Pine cones, dried orange slices, berries, or sprigs of herbs for a natural, rustic look
- Stickers, tags, or small ornaments to add a personalized touch
- Glitter, sequins, or other embellishments for a touch of sparkle
With these materials, you’re ready to make beautifully wrapped bottles. They’ll show off your DIY skills and impress the person you’re giving it to.
How to Wrap a Bottle in Tissue Paper
Adding tissue paper to a wine or spirit bottle makes it look elegant and personal. It’s easy to do and shows off your creativity. You can turn a simple bottle into a beautiful gift with just a few steps.
Start by placing the bottle flat on a sheet of tissue paper. Wrap the paper around the bottle smoothly. Then, fold the bottom to keep the paper in place. This fold is the base of your wrapping.
- Lay the bottle horizontally on a sheet of tissue paper.
- Wrap the paper evenly around the bottle.
- Create a base fold at the bottom to secure the paper.
Now, you can get creative. Try pleating the paper or making fan designs. You can also add decorations like hole punches. These touches make the gift unique and special.
With a little practice, you can make any bottle look amazing with tissue paper. You’ll impress your friends and family with your tissue paper crafts and creative wrapping methods.
Basic Bottle Measurements and Paper Sizing
Wrapping wine bottles or other glass containers right is key for a pro look. You need to know the standard sizes of bottles and match the paper size to them.
Standard Wine Bottle Dimensions
A typical 750-milliliter wine bottle is about 3 inches wide. But, Pinot and Champagne bottles can be up to 3.5 inches wide. To wrap it well, add an extra inch to the bottle’s length.
Paper Cutting Guidelines
- For standard 750-milliliter wine bottles, use an 11×17-inch piece of wrapping paper for basic techniques.
- For fanned-out designs, use an 11×22-inch piece of paper to accommodate the additional length needed.
- When positioning the bottle on the paper, leave about 2 inches on the base side and 8 inches on the top side for a balanced presentation.
- Adjust the paper size for bottles of different shapes and sizes to ensure a proper fit.
By following these guidelines, you can make a beautiful wine bottle presentation with the right packaging materials.
Traditional Tissue Paper Wrapping Method
The traditional tissue paper wrapping method is a classic and elegant way to wrap gifts. It’s perfect for bottles of special wine, luxury spirits, or unique liqueurs. This method makes them ready for any occasion.
To start, fold a sheet of tissue paper in half, with the open edges facing one side. Place the bottle parallel to the open sides of the paper. Roll the bottle in the tissue paper, pausing halfway to create a clean fold at the base. Keep rolling until you reach the end of the paper, then secure with a small piece of tape.
- Fold tissue paper in half with the open edges facing one side.
- Place the bottle parallel to the open sides of the paper.
- Slowly roll the bottle in the tissue paper, pausing midway to fold the base.
- Keep rolling until you reach the end of the paper.
- Secure the wrap with a small piece of tape.
This method is great because it leaves the top of the bottle open. You can add a decorative ribbon or bow for the final touch. It’s a simple yet elegant way to show off your bottle wrapping techniques and DIY gift wrapping skills.
| Bottle Size | Recommended Paper Size |
|---|---|
| Standard 750-milliliter wine or Champagne bottle | 11×17-inch piece of wrapping paper |
| Larger 1-liter bottle | 11×22-inch piece of wrapping paper |
“The traditional tissue paper wrapping method is a timeless choice for beautifully packaging bottles, adding an elegant touch to any gift.”
Creating Professional Base Folds
Gift wrapping starts with the base folds. Two key techniques are the diamond base and securing the bottom. These methods make your gift look great and sturdy.
Diamond Base Technique
Begin with a 2.5-inch fold at one end of your tissue paper. Press the sides to form a diamond. Then, fold the corners into the center and tape them.
This creates a solid base for your bottle. It supports the bottle’s weight and prepares it for wrapping.
Securing the Bottom
Next, fold the tissue paper diagonally to cover the base. Tuck the last section up for a neat bottom. This keeps the bottle in place and adds elegance.
Learning these folds can make your gifts stand out. It shows off your creativity in wrapping.
Elegant Top Finishing Techniques
Make your wine bottle look amazing with these top finishing techniques. Whether it’s for a special event or a gift, these steps can turn a simple bottle into a stunning piece.
The Quarter Wrap
Begin by pressing the paper at the bottle top to get a clean finish. Fold the paper in half-inch segments to create a fan shape. Use a small piece of tape to keep the center pleats in place.
The Bandana
Leave the top open for a festive ribbon or twine. Wrap a colorful bandana or holiday ribbon around the bottle neck. Tie it with a bow and add some holly or pine for elegance.
The Bandeau
This method is like the Bandana but uses a wider ribbon or fabric. Wrap it around the bottle neck and secure with a knot or tape. Add berries or a gift tag for a sophisticated look.
The Blouse
For a structured look, gather the tissue paper tightly above the cap. Secure it with a ribbon or twine. This creates a “blouse” effect that adds elegance to your wine bottle.
Check out our ONEHOPE Wine Pinterest Board for more festive bottle decoration ideas. Find unique wrapping styles to make your gifts special and spread holiday cheer.
Choosing ONEHOPE Wine means giving a gift that supports a good cause. Our wine and gift boxes help fund important initiatives, making every purchase count.
“100% of people find wine to be a thoughtful gift, but many struggle with wrapping wine bottles. Our elegant top finishing techniques will help you create a memorable presentation that wows the recipient.”
Fanned-Out Design for Special Occasions
Make your gifts stand out with a beautiful fanned-out tissue paper wrap. It’s great for special times like holidays or birthdays. It adds elegance and fun to any bottle, making it perfect for wine or spirits.
Fan Fold Measurements
Begin with an 11×22-inch tissue paper that matches your event’s theme. Fold it in half to get a 5.5×22-inch piece. Then, fold the top edge in half-inch increments to form a fan shape. Use double-sided tape to hold the middle folds together.
Securing Fan Details
- Secure the fan’s folds with more double-sided tape for a solid shape.
- Adjust the folds for a balanced look.
- Staple or clip the base for extra stability.
This design turns a simple bottle into a festive bottle decoration. It’s ideal for any celebration that needs a bit of creative wrapping methods.
Ribbon and Bow Applications
Add ribbons and bows to your gifts for a special touch. They can turn a simple bottle into a stunning present. You can choose from classic bows or more detailed designs to finish your gift.
Traditional Ribbon Wrapping
Begin by wrapping a ribbon around the bottle’s neck. Then, tie a bow facing the opposite side of the tape. This adds elegance and highlights the bottle’s design.
Fanned-Out Bow Design
For a fancy bow, wrap the ribbon around the bottle and secure it below the tissue paper. Make even loops and tie a knot in the middle. This bow design makes your gift stand out.
| Ribbon Type | Recommended Uses |
|---|---|
| Wired Ribbon | Fanned-out bows, detailed designs |
| Satin Ribbon | Classic bows, elegant touches |
| Grosgrain Ribbon | Durable, great for many projects |
Try different ribbons to match your gift’s theme. With practice, you’ll master tying beautiful bows.
Creative Tissue Paper Color Combinations
Tissue paper comes in many colors, letting you get creative with gifts or bottle decorations. You can pick from bright colors to soft, gentle shades. This makes your gift wrapping and bottle decorations look amazing.
Seasonal Color Schemes
Use tissue paper to match the season’s mood. For winter, try deep reds, greens, and golds for a fancy look. In spring, soft colors like lavender, mint, and yellow add a fresh feel. Try different colors to match the season’s vibe.
Event-Specific Palettes
Choose tissue paper colors that fit the event’s theme. For Valentine’s Day, use pink, blush, and burgundy. For a business event, go for black, gray, and white with metallic touches. This makes your presentation match the event perfectly.
Playing with colors is key to great gift wrapping and decorations. Try out different tissue paper colors, patterns, and textures. Find the perfect mix that shows off your style.
Hole-Punch Decoration Method
Take your gift-wrapping to the next level with the hole-punch decoration method! It’s a simple yet stylish way to add whimsy to your tissue paper-wrapped bottles. First, wrap your bottle carefully. Then, use a hole punch to make two holes at the top fold.
Thread a ribbon through one hole towards the taped side. Then, weave it through the other hole in the front. Finish with a delightful bow. Your gift now has a unique, personalized touch.
This method is loved for its creativity. Try different ribbon colors, widths, and textures to match your tissue paper. You can also mix patterns for a fun, eye-catching look. It’s perfect for any gift, like wine, champagne, or your favorite spirit.
So, let your DIY creative wrapping methods spirit shine with the hole-punch decoration. It’s a quick and easy way to make your gift stand out. Impress your friends and loved ones with your new skills!
Tips for Handling Bottles of Different Shapes
When wrapping bottles, the right materials are key. Standard wine bottles are easy to wrap. But, bottles that are irregular or unique need a special touch.
For bottles that don’t fit the usual shape, try using tissue paper. It’s soft and can bend to fit the bottle’s shape. This makes the wrapping look great and smooth.
- Recommended width of wrapping paper for Bottled Baking Co. mixes: around 40cm
- Recommended excess wrapping paper to leave above the bottle: 10-15cm
- Recommended length of ribbon for wrapping: around 1m
Adding a layer of cellophane can also help. It adds stability and a bit of shine. This is great for bottles with odd shapes or surfaces.
| Platform | Account |
|---|---|
| TikTok | @bottledbakingco |
| @thebottledbakingco |
Changing the paper size and how you fold it can make your wrapping look professional. Use materials like tissue paper and cellophane to make your packaging stand out. It will surely impress your friends and family.
Common Wrapping Mistakes to Avoid
DIY gift wrapping can be fun, but it’s easy to make mistakes. Experts say to avoid stiff or thick paper. It’s hard to fold and may not look right.
Getting the measurements right is key. If the paper is too short, you’ll have gaps. Too much paper can make the folds look messy.
Annabelle Borke and Vanessa West, both experts in gift wrapping, stress the need to handle paper gently. Wrapping too tight can tear the paper. You want a neat wrap without too much pressure.
Securing folds and pleats properly is also important. It helps keep the shape and look of your wrapped gift.
By avoiding these mistakes and using creative methods, your DIY gifts will stand out. They’ll be both thoughtful and beautiful to look at.
Popular Questions:
What are the essential materials for wrapping bottles in tissue paper?
You’ll need tissue paper, cellophane wrap, and double-sided sticky tape. Scissors and ribbon are also important. You can add decorations like pine cones, dried orange slices, berries, or herbs.
What type of paper works best for bottle wrapping?
Thin, glossy wrapping paper is best for bottles. It’s more flexible than stiff kraft paper. Tissue paper is a great choice for its flexibility and decorative effects.
What are the standard wine bottle dimensions?
Use an 11×17-inch piece of paper for standard 750-milliliter wine bottles. For fanned-out designs, use an 11×22-inch piece. Adjust the size for different bottles.
How do you create a diamond-shaped base on a wrapped bottle?
Start by making a 2.5-inch fold at one end of the paper. Press the sides to form a diamond. Fold the corners in and tape them.
What’s the process for creating a fanned-out design on a wrapped bottle?
Use an 11×22-inch piece of paper. Fold the top in half-inch segments for a fan shape. Tape the middle to hold it. Then, bring the folds together and tape to secure.
How do you apply ribbons and bows to a wrapped bottle?
For traditional wrapping, loop a ribbon around the bottle’s neck and tie a bow. For fanned-out designs, wrap the ribbon around the bottle and tie just below the fold.
Can you add unique decorative touches to a wrapped bottle?
Yes, make two single-hole punches at the top. Thread ribbon through one hole, then the other, and tie a bow for a special touch.
What are some common mistakes to avoid when wrapping bottles in tissue paper?
Don’t use stiff or thick paper. Make sure your measurements are right to avoid too much or too little paper. Be gentle when wrapping to avoid tears. Secure folds well to keep the bottle’s shape.

