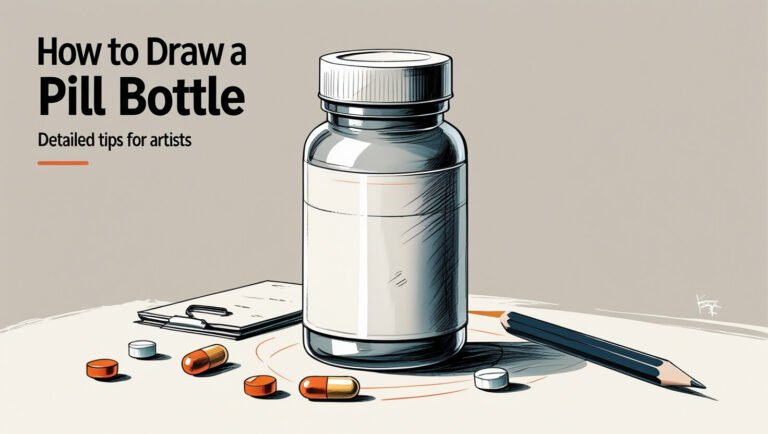
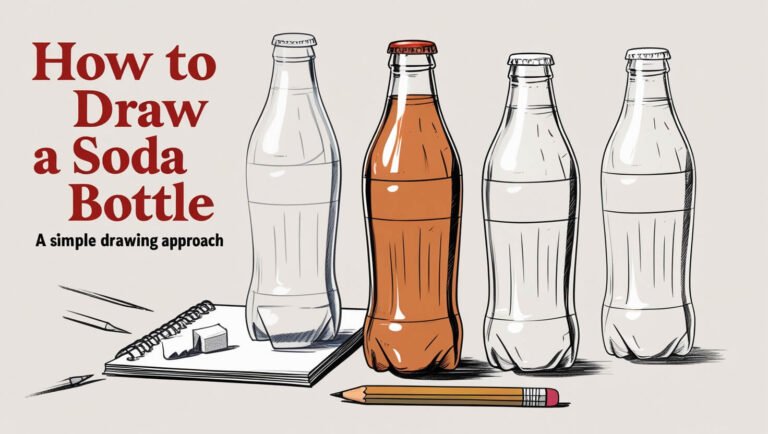
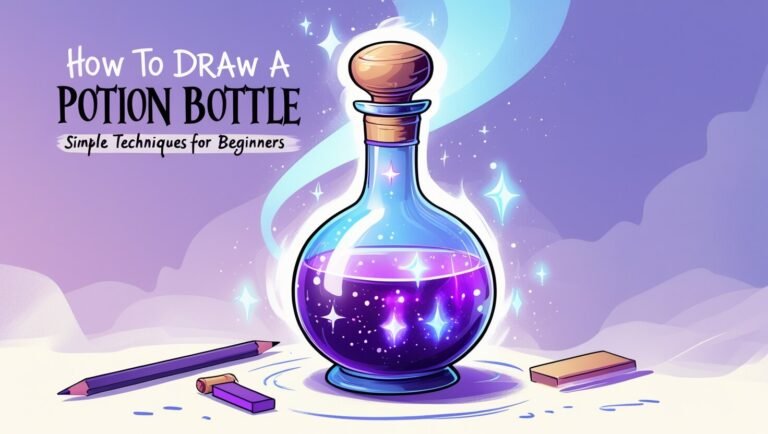
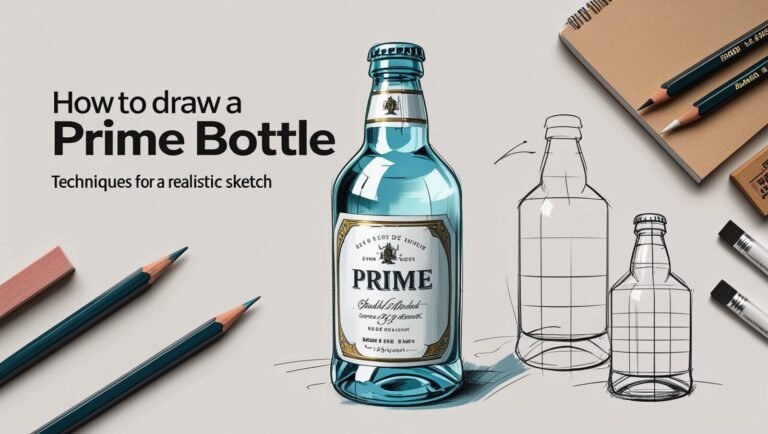
How to Draw a Bottle: Simple Techniques for Realistic Art
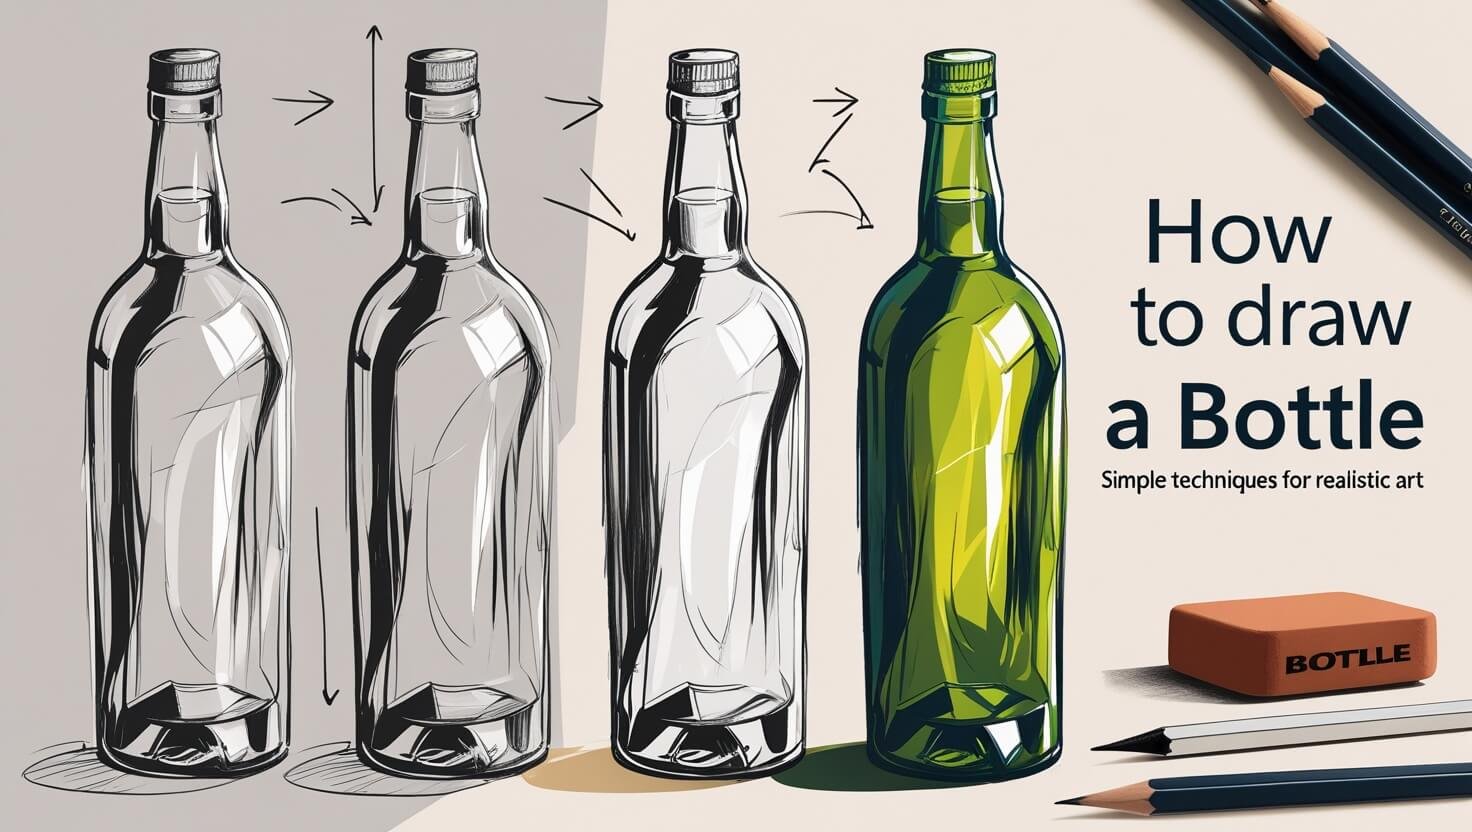
What makes a bottle drawing look realistic and captivating? Is it the precise shape, the smooth shading, or the subtle reflections? Let’s explore the world of bottle drawing and find out. With a step-by-step guide, you can learn to draw a bottle that looks real. This guide will show you how to draw a bottle, from the basic shape to adding details and textures.
Whether you’re new to art or have some experience, drawing a bottle can be fun and rewarding. By following a simple guide, you can create a beautiful bottle drawing. So, let’s start and learn the secrets of drawing a bottle that will impress everyone. With practice, you can master drawing a bottle and improve your artistic skills.
Essential Art Supplies for Bottle Drawing
To make a stunning pencil sketch of a bottle, you need the right tools. For beginners, starting with the basics is key. A pencil, paper, and eraser are the first steps in a realistic bottle drawing tutorial.
Choose paper that feels right to you. Smooth paper is great for detailed work, while textured paper can add a special touch. A good eraser is also important for fixing mistakes and adding highlights.
Basic Drawing Materials
Popular supplies for drawing a bottle include Prismacolor Scholar Colored Pencils, Faber-Castell Graphite Set, and Sharpie Markers. These tools help you create everything from soft shading to sharp lines. They make your pencil sketch of a bottle come alive.
Paper Selection Guide
When picking paper for your bottle drawing, think about a few things:
- Texture: Choose from smooth, textured, or watercolor paper
- Size: Pick a size that lets you draw comfortably
- Quality: Go for high gsm (grams per square meter) for durability
Optional Advanced Tools
For more advanced bottle drawings, try these tools:
- Blending stumps or tortillons for smooth shading
- Colored pencils or markers for extra color and depth
- A pencil sharpener for sharp pencils
| Art Supply | Description |
|---|---|
| Prismacolor Scholar Colored Pencils | Ideal for beginners, with strong cores and vibrant colors |
| Faber-Castell Graphite Set | Perfect for detailed drawings, with break-resistant pencils |
| Sharpie Markers | Great for bold lines and added color, with a range of tip sizes |
How to Draw a Bottle: Basic Shapes and Forms
To draw a bottle, you need to know the basic shapes. A bottle art tutorial starts with simple shapes like cylinders and circles. These shapes help you draw different bottles, from simple to complex.
When drawing a glass bottle tutorial, think about the bottle’s proportions and symmetry. A vertical symmetry axis tool helps draw accurately and balanced. Try drawing various bottles, like baby bottles or wine bottles, to improve your skills.
Here are some bottle illustration tips to remember:
- Start with basic shapes and gradually add details
- Use reference images to get a better understanding of the bottle’s proportions and design
- Practice, practice, practice! The more you draw, the better you’ll become
Creating a realistic bottle drawing requires attention to shapes, lines, and proportions. With patience and practice, you can make amazing bottle artwork. It will show off your skills and creativity.
Light Sources and Bottle Reflections
When drawing a bottle, think about the light and reflections. A step-by-step guide can teach you how to show light on the bottle’s surface. You need to figure out where the light comes from and how it hits the bottle.
In an easy guide, you’ll find tips on shading a bottle. This includes where to place light and shadows. For a realistic drawing, watch how light bounces off the bottle, making highlights and shadows. Study the bottle’s shape, material, and its surroundings.
Understanding Reflections
To draw a realistic reflection, think about the bottle’s material, the light, and its environment. For example, glass reflects light differently than plastic or metal. A good tutorial will show you how to capture these differences.
Techniques for Capturing Reflections
There are ways to draw reflections, like:
- Hatching: making lines close together to show texture and shading
- Cross-hatching: adding more lines to make shadows deeper
- Stippling: using dots to suggest texture and shading
By learning these techniques and following a guide, you can make a beautiful bottle drawing. It will show off your artistic talent.
Adding Details and Textures to Your Bottle Art
Learning to draw a bottle means focusing on details and textures. A pencil sketch is a good start, but adding textures and details makes your art stand out. For beginners, understanding shading and light reflection is key to realism.
To enhance your bottle art, try these techniques:
- Shading: Use different shading techniques to create depth and dimension in your artwork.
- Light reflection: Add highlights and reflections to your bottle to create a sense of realism.
- Textures: Experiment with different textures, such as rough or smooth, to add visual interest to your artwork.
These techniques can make your bottle drawing unique and engaging. Practice and experiment to find what works for you. With effort, you can master drawing bottles and create beautiful art.
| Technique | Description |
|---|---|
| Shading | Use different shading techniques to create depth and dimension in your artwork. |
| Light reflection | Add highlights and reflections to your bottle to create a sense of realism. |
| Textures | Experiment with different textures, such as rough or smooth, to add visual interest to your artwork. |
Conclusion: Your Journey in Bottle Drawing
Learning to draw bottles is a journey that takes practice and patience. We’ve covered essential techniques, from choosing the right supplies to capturing light and details. But, your learning journey doesn’t stop here. Bottle art tutorial and bottle illustration tips are just the start.
Keep practicing to get better at drawing a glass bottle tutorial. Try drawing different bottle shapes and materials. This will help you understand light, form, and perspective better. The more you draw, the better you’ll get, and you’ll feel more confident.
Drawing is like a language, and with each sketch, you learn new things. Enjoy the journey, celebrate your progress, and keep exploring bottle drawing. The more you dive into it, the more rewarding it will be.
Best Questions:
What are the basic materials needed to draw a bottle?
To draw a bottle, you’ll need pencils, erasers, paper, and a drawing pad. You might also use blending tools, a sharpener, and references for the design.
How do I construct the basic shape of a bottle?
Start by drawing the neck, then the shoulder, and lastly the body. Focus on the proportions and angles for an accurate drawing.
What are the key considerations for adding details and textures to a bottle drawing?
Think about the bottle’s material, like glass, plastic, or metal. Use shading, highlights, and reflections for a realistic look. Add labels, caps, and other features for character.
How do I use light sources and reflections to make my bottle drawing more realistic?
Figure out the light source’s direction to create shadows and reflections. Observe how light affects the bottle’s surface. Use shading and highlights to show light and reflection effects.
What are some tips for practicing and improving my bottle drawing skills?
Practice regularly to get better at drawing bottles. Use reference images, try new techniques, and consider classes or tutorials. Be patient and enjoy the learning journey.

