How to Clean a Bottle Sterilizer Properly?
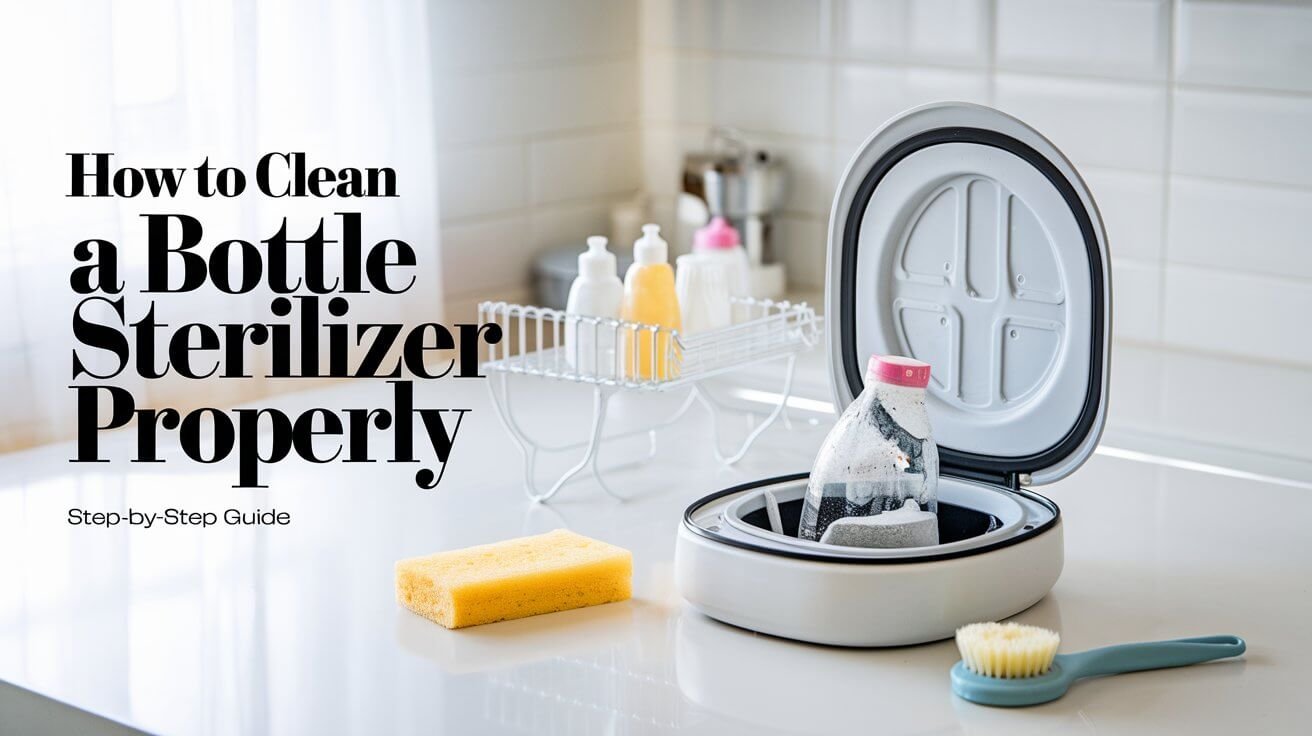
Are you curious about keeping your baby’s bottles and feeding gear safe? Cleaning a bottle sterilizer is key to your baby’s health. Babies can’t fight off infections as well as adults, so it’s vital to keep things clean.
In this article, we’ll show why cleaning a bottle sterilizer is important. We’ll also give you a detailed guide on how to do it right. This way, you can ensure your baby stays safe and healthy.
Regular cleaning stops harmful germs from growing. It also makes sure the sterilizer works well. By keeping your bottle sterilizer clean, you’re giving your baby a great start in life. Let’s get started on how to clean a bottle sterilizer for your baby’s safety.
Safety Precautions Before Cleaning Your Bottle Sterilizer
When cleaning your bottle sterilizer, safety comes first. Make sure it’s unplugged and cool before you start. This step is key to keeping you safe while cleaning.
Start by getting all the cleaning stuff you need. This includes a soft cloth, warm soapy water, and a descaling solution if you need it. Always handle these items carefully, as they can be harsh.
Unplugging and Cooling Down Period
Letting your sterilizer cool down is very important. It helps prevent burns or injuries. This simple step is a big safety plus.
Required Cleaning Materials
Choosing the right cleaning materials is critical. Here are some must-haves for your cleaning routine:
- A soft cloth to wipe down surfaces
- Warm soapy water for general cleaning
- A descaling solution for removing mineral deposits
Water Safety Standards
Keeping water safe is key to avoiding contamination. Always use clean water and make sure it’s at a safe temperature. By following these safety steps and using the right materials, you can clean safely and effectively.
Parts of Your Bottle Sterilizer That Need Regular Cleaning
Keeping your bottle sterilizer clean is key to its effectiveness. It stops mold and bacteria from growing. The lid, bottle trays, and heating plate are the main parts that need cleaning. They can get milk residue, bacteria, and mold, which can harm the sterilizer’s germ-killing power.
Regular cleaning of these parts is vital. It stops limescale buildup and bad smells. How often you clean depends on how much you use it. Daily use means more cleaning. Descaling is also important to keep the sterilizer working well and safe.
Some key parts of the bottle sterilizer that need regular cleaning are:
- The lid: prone to milk residue and bacteria buildup
- Bottle trays: require regular washing to prevent mold and bacteria growth
- Heating plate: needs to be wiped down regularly to prevent limescale buildup
Regular cleaning keeps your sterilizer effective against germs and mold. This is very important for baby bottles and feeding gear. Hygienic practices help keep babies safe from infections and keep them healthy.
| Part of Sterilizer | Cleaning Frequency | Cleaning Method |
|---|---|---|
| Lid | Daily | Wash with soap and water |
| Bottle Trays | Weekly | Wash with soap and water, and dry thoroughly |
| Heating Plate | Monthly | Wipe down with a soft cloth and vinegar-water mixture |
Preparation Steps for Deep Cleaning
To deep clean your bottle sterilizer safely and thoroughly, follow key steps. Start by taking apart the sterilizer’s parts, like lids and trays. This helps prevent bacteria and germs from spreading.
Deep cleaning your bottle sterilizer needs careful attention. Begin by taking apart the parts you can remove. This lets you clean each part well, removing any buildup. Taking apart the parts ensures a deeper clean, which is key for the sterilizer’s effectiveness.
Disassembly Process
First, remove all parts that can be taken off the sterilizer. This includes trays, lids, and other accessories. After taking them apart, rinse each part with warm water and mild soap. This removes any loose debris.
Initial Inspection Points
After taking apart the parts, check each one for buildup, mineral deposits, or damage. Look for blockages in the sterilizer’s tubes or valves. These can harm its performance.
Surface Preparation
Before deep cleaning, rinse the surfaces with warm water and mild soap. This step removes any remaining debris. It makes sure the sterilizer is ready for deep cleaning. By following these steps, your bottle sterilizer will be clean and safe for your baby’s bottles and accessories.
How to Clean Bottle Sterilizer: Step-by-Step Process
To clean your bottle sterilizer well, you need to follow a detailed cleaning process of bottle sterilizer. Start by taking it apart. Then, rinse each part with warm soapy water. Finish by sanitizing with steam or a bleach solution.
Using a mix of methods can make cleaning easier. For example, a solution of water and white vinegar can remove scale. Always follow the maker’s guide for a thorough step-by-step cleaning of bottle sterilizer.
Important things to remember when cleaning your bottle sterilizer include:
- Regular cleaning to avoid mineral buildup
- Choosing a bottle sterilizer cleaning methods that’s gentle
- Always follow the maker’s step-by-step cleaning of bottle sterilizer instructions
By sticking to these steps and the right cleaning process of bottle sterilizer, your sterilizer will stay in top shape. It will keep your baby’s bottles and accessories clean and safe.
Dealing With Mineral Deposits and Scale Buildup
Mineral deposits and scale buildup can make your bottle sterilizer less effective. To fix this, using descaling methods is key. A good way is to mix water with vinegar or citric acid to clean out deposits.
It’s important to descale your bottle sterilizer regularly to avoid scale buildup. You can use a descaler or a homemade mix of white vinegar and water. Let the solution sit on the heating plate for 30 minutes before cleaning it off. Also, using distilled water can stop mineral scale buildup.
Here are some tips to avoid mineral deposits and scale buildup:
- Descaling the sterilizer at least once a month
- Using good quality cleaners to remove residue
- Utilizing water treatment products to maintain autoclave value
Using the right descaling methods keeps your bottle sterilizer working well. This prevents problems from mineral deposits and scale buildup.
Daily Maintenance Tips for Your Sterilizer
To keep your bottle sterilizer working well, daily maintenance of bottle sterilizer is key. Simple tasks done regularly help keep it safe and clean for your baby’s bottles. Wipe the heating plate with a soft cloth after each use to avoid mineral buildup. This is a vital part of sterilizer maintenance tips.
Another important step in bottle sterilizer care is to check for buildup or wear. Look at the heating plate and water reservoir for mineral deposits or damage. This helps prevent problems that could harm the sterilizer’s performance.
Here are some more daily maintenance of bottle sterilizer tips to remember:
- Regularly clean the sterilizer’s parts, such as the basket and lid, with mild soap and water.
- Check the water level in the reservoir and refill as needed.
- Ensure the sterilizer is properly stored when not in use to prevent dust and other debris from accumulating.
By sticking to these easy sterilizer maintenance tips, you can make your bottle sterilizer last longer. It will keep providing a safe and clean space for your baby’s bottles. Remember, bottle sterilizer care is an ongoing task that needs regular attention to work well.
| Maintenance Task | Frequency |
|---|---|
| Wipe down heating plate | After every cycle |
| Check for signs of buildup | Daily |
| Clean sterilizer parts | Weekly |
Troubleshooting Common Cleaning Issues
Bottle sterilizers can face common cleaning problems even with regular care. These issues can be annoying, but there are ways to fix them. One big problem is mineral deposits, which can clog the sterilizer. Regular descaling is key to solving this issue.
Other common problems include bad smells, tough stains, and water spots. Finding the cause of these issues is important. For example, not cleaning the sterilizer well can lead to bacteria and mold. This causes bad smells. With the right steps, you can solve these problems easily.
To solve these common issues, try these tips:
- Regularly descale the sterilizer to prevent mineral buildup
- Use a mixture of equal parts water and vinegar to remove stubborn stains
- Ensure the sterilizer is properly dried after each use to prevent water spots
Regular maintenance helps avoid many cleaning problems. This keeps your bottle sterilizer working well. It also makes fixing cleaning issues easier.
| Issue | Solution |
|---|---|
| Mineral buildup | Descaling the sterilizer regularly |
| Stubborn stains | Using a mixture of equal parts water and vinegar |
| Water spots | Ensuring the sterilizer is properly dried after each use |
Storage and Care Between Uses
Storing your bottle sterilizer right is key to keeping it working well. Always put it in a dry, clean spot when you’re not using it. This stops damage and keeps it in top shape.
For bottle sterilizer upkeep, use distilled water to avoid mineral buildup. This keeps your sterilizer effective against germs and bacteria. Here are some important tips:
- Keep the sterilizer in a well-ventilated area to avoid moisture.
- Check it often for damage or wear.
- Make sure it’s clean and dry before you store it.
By following these easy steps, your bottle sterilizer will stay effective. It will keep your baby’s bottles clean and safe. Proper care also stops bacteria and germs, keeping your baby healthy.
| Storage Tips | Benefits |
|---|---|
| Store in a dry environment | Prevents moisture buildup and damage |
| Use distilled water | Prevents mineral scale buildup |
| Regularly inspect for damage | Extends the lifespan of the sterilizer |
Signs Your Sterilizer Needs Professional Service
Keeping your bottle sterilizer clean and well-maintained can make it last longer. But, sometimes it needs professional help. If it’s not working as well as it used to, it’s time to look for signs that it needs a pro.
A bottle sterilizer expert can fix problems like broken heating parts, damaged sensors, or blocked steam vents. Look for signs like longer sterilization times, not fully sterilized items, or error lights on the screen. These are clues that your sterilizer needs a pro.
Performance Indicators
- Increased energy consumption
- Reduced sterilization efficiency
- Unusual noises or vibrations
If you see any of these signs, it might be time for a bottle sterilizer repair. Also, don’t forget to descale it regularly. This stops mineral buildup that can harm its performance. Spotting these signs early helps keep your sterilizer working right and safe for your baby’s things.
| Issue | Possible Cause | Solution |
|---|---|---|
| Longer sterilization times | Scale buildup or faulty heating element | Descaling or replacing the heating element |
| Incomplete sterilization | Clogged steam vents or damaged sensors | Cleaning or replacing the steam vents and sensors |
Knowing these signs and acting fast keeps your bottle sterilizer safe and effective. This way, it can keep your baby’s bottles and accessories clean and germ-free.
Let’s Finish
Keeping your bottle sterilizer clean and working well is key for your baby’s safety. By following the steps and tips in this article, you can keep your sterilizer in great shape. This helps prevent harmful germs and makes it last longer.
A clean bottle sterilizer is not just good for your baby’s health. It also gives you peace of mind as a parent. Experts say to sterilize your baby’s feeding stuff for at least a year.
This, along with regular cleaning, makes sure your sterilizer works well. With this guide, you can be sure your baby’s feeding area is always safe and healthy.
Simple Questions:
Why is it important to clean a bottle sterilizer regularly?
Cleaning a bottle sterilizer is key to keeping your baby safe. A dirty sterilizer can harbor mold, mildew, and bacteria. These can spread to your baby’s bottles and feeding gear. Regular cleaning stops harmful germs and keeps the sterilizer working right.
What safety precautions should I take before cleaning the bottle sterilizer?
Before you start, make sure the sterilizer is unplugged and cool. You’ll need a soft cloth, warm soapy water, and descaling solution if needed. Always follow water safety rules to avoid contamination.
Which parts of the bottle sterilizer need regular cleaning?
The lid, bottle trays, and heating plate need regular cleaning. This stops milk residue, bacteria, and mold from building up.
How do I prepare for a deep cleaning of the bottle sterilizer?
First, take apart the removable parts like the lid and trays. Check them for buildup or damage. Then, rinse the surfaces with warm water and mild soap.
What is the step-by-step process for cleaning a bottle sterilizer?
To clean it, disassemble the parts and rinse them with warm water and soap. Use descaling solution if needed. Then, dry everything before putting it back together.
How can I deal with mineral deposits and scale buildup in the bottle sterilizer?
Use vinegar and baking soda for natural descaling. Or, try commercial solutions. Preventing buildup is also important.
What daily maintenance tips should I follow for my bottle sterilizer?
Wipe the heating plate daily. Check for buildup. Store it dry when not in use.
How can I troubleshoot common cleaning issues with my bottle sterilizer?
For odd smells, try natural stain removers. Fix water spots to keep it in top shape.
How should I store and care for my bottle sterilizer between uses?
Keep it in a dry, clean spot. Check for buildup before use. Clean it well before storing.
When does my bottle sterilizer need professional service?
If it’s not working right, needs part replacement, or is under warranty, it’s time for a pro.

