How To Make Bottle Cap Jewellery: Step-by-Step Crafting
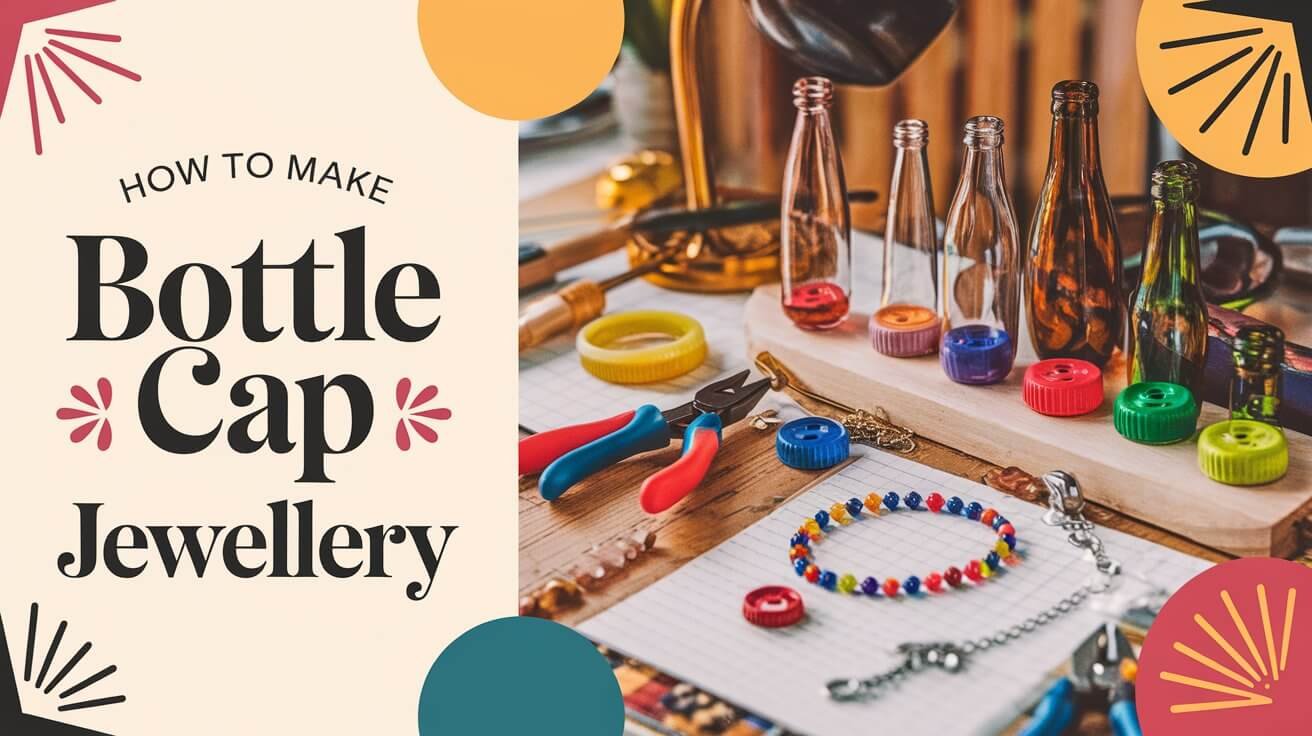
Unleash your creativity and turn ordinary bottle caps into stunning jewelry. Ever wondered how to make bottle cap jewelry that really pops? This guide will show you the tools, materials, and techniques to make unique earrings, necklaces, and pins from upcycled bottle caps. Get ready to be inspired and learn how to make one-of-a-kind bottle cap crafts that will wow everyone.
Essential Tools and Materials for Bottle Cap Jewelry Making
Making bottle cap art and jewelry is fun and easy. You just need a few tools and materials. With some creativity and basic supplies, you can make unique accessories from bottle caps.
Basic Tools Needed
- Hammer – for flattening and shaping the bottle caps
- Awl – to punch holes in the bottle caps for attachments
- Jewelry pliers – for opening and closing jump rings and manipulating findings
- Round-nose pliers – for creating loops and shaping wires
- Wire cutters – to trim wire, headpins, and other components to size
Required Materials and Supplies
Here are the basic materials you need:
- Bottle caps – vintage, glass soda caps, or modern plastic caps all work well
- Head-pins or eye-pins – for attaching the bottle caps to earwires, chains, or other findings
- Earwires, jump rings, and other jewelry findings – to connect the bottle cap components
- Beads, crystals, or other decorative elements (optional)
Optional Decorative Elements
To make your jewelry even more special, try these optional elements:
- Scrapbook paper, magazine clippings, or photos – to decoupage the bottle cap surfaces
- Mod Podge or other decoupage medium – to adhere and seal the printed elements
- Dimensional adhesives like Ranger’s Glossy Accents – to create a faux druzy effect
- Glass glitter or other embellishments – for added sparkle and visual interest
- Gold or metallic nail polish – to add a touch of shine and detail
With these tools and materials, you’re ready to make unique bottle cap jewelry. Let your creativity flow and enjoy this fun craft!
Preparing Your Bottle Caps for Jewelry Creation
Before starting your sustainable bottle cap jewelry, prepare your materials first. Wash the bottle caps with soap and water to clean them. Then, dry them with a paper towel to make sure they’re clean and ready.
You can choose between repurposed materials or new bottle caps. Used caps can be found at flea markets or in recycling bins. New caps can be bought from bottling shops or craft stores. Vintage caps add a special touch to your sustainable fashion pieces.
- Cost of materials for the DIY bottle cap necklace project did not exceed $10
- Number of bottle caps required for the project: 16
- Time needed for painted bottle caps to dry: 24 hours
- Size of drill bit recommended for drilling through bottle caps: 3/16 inch
- Number of bottle caps threaded onto the chain necklace: 16
- Waiting time for craft glue to dry: 24 hours
With your clean and dry bottle caps, you’re ready for the next step. Remember, the beauty of repurposed materials and sustainable fashion lies in turning everyday items into something special.
How to Make Bottle Cap Jewellery
Making DIY jewelry from bottle caps is fun and cheap. You can turn simple bottle caps into cool accessories. Here’s how to make stylish bottle cap jewelry.
Cleaning and Sanitizing Caps
First, clean the bottle caps well. Use warm soapy water, remove labels, and dry them completely. This makes them ready for the next steps.
Creating Holes for Attachments
Use a hammer and nail to make a small hole at the cap’s top. This hole is for attaching jewelry pieces. For belts or bracelets, make a bigger hole in the middle.
Flattening Techniques
To get a smooth look, place the cap open-side down and hammer around the top. This flattens the cap and makes it look polished.
Now you know the basics of making bottle cap jewelry. Let your creativity shine and make unique pieces that show off your style.
| Material | Cost Estimate |
|---|---|
| Bottle Caps | Pennies |
| Patterned Scrapbook Paper | $1-$3 per sheet |
| Clear, Flat Bottomed Marbles | $2-$5 per pack |
| Strong Clear Glue | $3-$5 per bottle |
| Drill and Jewelry Pliers | $10-$30 per tool |
| Jump Rings and Cords | $2-$5 per pack |
With just a little money, you can make amazing diy jewelry tutorials and enjoy creative hobbies. Making bottle cap jewelry is easy and lets you make your own accessories. You can even sell them at local fairs.
Creative Design Ideas for Bottle Cap Jewelry
Get creative with these amazing bottle cap crafts! Turning everyday bottle caps into stylish jewelry is a great way to make your accessories unique. Whether you’re new to crafting or have experience, these ideas will help you make something special.
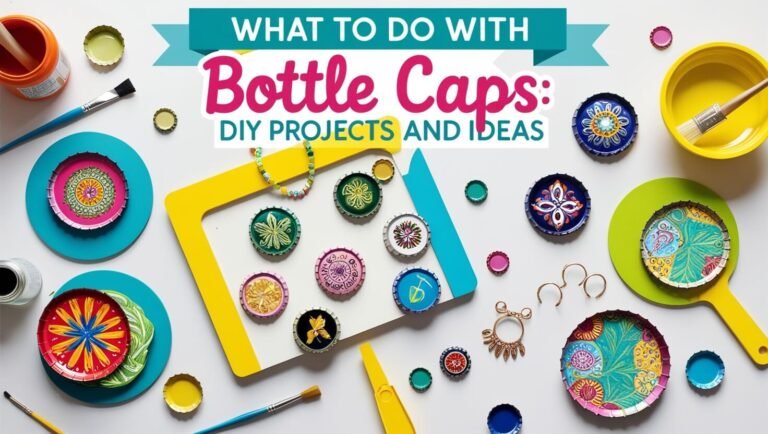
One cool way to make bottle cap jewelry is by creating mini-collages. Use scrapbook paper, magazine cutouts, or your own photos to make eye-catching designs. Arrange the images carefully to make beautiful pendants, earrings, and bracelets that show off your creativity.
Try adding different embellishments to your bottle cap crafts. Use beads, eyelets, charms, and more to add texture and interest. Mixing materials and textures lets you create unique pieces that reflect your style.
| Top 10 Things That Can Be Recycled Into Earrings |
|---|
| 1. Bottle Caps |
| 2. Buttons |
| 3. Washers |
| 4. Coins |
| 5. Dominoes |
| 6. Pebbles |
| 7. Seashells |
| 8. Lightweight Wooden Beads |
| 9. Vintage Jewelry Pieces |
| 10. Corks |
With a bit of creativity and the right tools, you can make bottle cap jewelry that stands out. Whether you like simple designs or bold statements, there’s a world of possibilities in bottle cap crafts. It’s a great way to express yourself and upcycle.
Adding Decorative Elements and Images
Get creative with your bottle cap art. You can make bottle cap jewelry or add a personal touch to recycled jewelry. The possibilities are endless.
Paper and Photo Techniques
Begin by applying Mod Podge to the inside of your bottle caps. This adhesive makes it easy to stick paper or photos. Use collage materials, scrapbooking paper, or your own prints.
Layer these elements to add depth and interest to your designs.
Using Mod Podge and Sealants
After adding your elements, apply a final coat of Mod Podge or Glossy Accents. This sealant protects your design and gives it a glossy look. Let it dry as instructed by the manufacturer.
Embellishment Options
- Add beads, eyelets, or small trinkets for extra flair.
- Try using glitter, sequins, or dried flowers for unique designs.
- Use charms, buttons, or found objects to add dimension and personal touches.
Decorative elements and images can turn simple bottle caps into stunning bottle cap art and recycled jewelry. Let your creativity shine and imagine the possibilities!
Making Bottle Cap Earrings
Get creative and turn simple bottle caps into stunning earrings! This DIY jewelry tutorial will show you how to make charming bottle cap earrings. They are fashionable and eco-friendly. You can make them quickly and easily, whether you’re a seasoned crafter or a beginner.
To start, you’ll need some basic tools and materials. You’ll need bottle caps, jump rings, ear wires, and decorative elements like beads and glitter. The beauty of how to make bottle cap jewellery is in the personal touch you add to each piece.
- Gather your materials: Start by collecting clean, flattened bottle caps. You can find mini bottle caps at craft stores like Jo-Ann, or use larger caps from your favorite drinks.
- Create holes for attachments: Use a metal awl or punch to make two small holes at the top of each bottle cap. These holes will hold the jump rings and ear wires.
- Flatten and smooth the caps: Use a hammer to flatten the bottle caps carefully. Then, sandpaper or a file can smooth out any rough edges.
- Attach jump rings: Open the jump rings and put them through the holes in the bottle caps. Close the jump rings to secure them.
- Add ear wires: Attach the ear wires to the jump rings for a secure and comfortable fit.
- Personalize with decorations: Add your own touch with glitter, diy jewelry tutorials, beads, or small images with Mod Podge.
Bottle cap earrings are very versatile. You can make simple or elaborate designs. The most important thing is to have fun and let your imagination run wild. So, grab those bottle caps, get crafting, and enjoy wearing your own handmade jewelry!
Crafting Bottle Cap Necklaces and Pendants
Get creative and turn simple bottle caps into beautiful jewelry. This guide will show you how to make necklaces and pendants from them. You can make unique pieces that show off your personal style.
Jump Ring Attachment Methods
Start by attaching a jump ring to the bottle cap’s hole. This is the base of your necklace or pendant. Use pliers to open the jump ring, slide it through, and then close it tight. Make sure it’s secure, as it will hold your design’s weight.
Chain Selection and Assembly
Then, pick a chain that matches your bottle cap’s size and style. Think about the cap’s weight when choosing the chain’s thickness. Attach the jump ring to the chain with pliers, making a smooth connection. Adjust the chain length to fit your necklace or pendant perfectly.
Now, you can add your own touch to your jewelry. You can use decorations, resin domes, or even small images. Try out different materials and techniques to make your accessories truly unique.
Making bottle cap jewelry is all about planning and doing it right. Follow these steps to turn everyday items into beautiful art. Enjoy the process of making homemade accessories with repurposed materials.
Creating Bottle Cap Bracelets and Pins
Let your creativity shine by turning bottle caps into cool fashion items. Our guide shows you how to make bottle cap bracelets and pins. These items are not only stylish but also help the environment.
Bottle Cap Bracelets
To make stylish bottle cap bracelets, decorate your caps first. Then, use jump rings or rivets to connect them. This makes it easy to link caps together for a bracelet. Add adjustable fasteners or magnetic clasps for a snug fit.
Bottle Cap Pins
Bottle cap pins are a fun way to spice up your outfits. Just hot glue a pin finding to the back of your cap. Try different shapes and designs to show off your creativity.
Make your bottle cap crafts stand out by creating matching sets. Pair bracelets with earrings, necklaces, or pins for a complete look. The world of bottle cap crafts and sustainable fashion is full of endless possibilities.
Troubleshooting Common Issues
Making beautiful bottle cap jewelry is a fun DIY project. But, even experienced crafters sometimes face problems. Don’t worry, we have tips to help you solve common issues.
Fixing Uneven Surfaces
One big issue is getting a smooth surface on bottle cap jewelry. To fix this, flatten the caps before you start. Use a hammer or pliers to smooth out bumps, but be careful not to damage them.
Another solution is to use a thick sealant or modge podge. Apply it to make the surface even. Let it dry completely before you continue.
Dealing with Attachment Problems
It’s important to make sure your jewelry stays attached well. Check that jump rings or connectors are closed right. You might also want to add more glue for extra strength.
Before wearing your jewelry, test its durability. Gently pull and twist it to see if it’s strong enough for everyday wear.
With a bit of patience and the right techniques, you can make amazing diy jewelry tutorials. Enjoy your creative hobbies and turn simple bottle caps into unique accessories!
Safety Tips and Best Practices
Making bottle cap jewelry is fun and creative. But, it’s important to follow some basic safety rules. This makes sure you have a good time while crafting. Whether you’re new to upcycled crafts or have been doing them for a while, safety is key.
Always wear protective eyewear when you’re hammering or cutting bottle caps. This keeps your eyes safe from flying debris or sharp edges. Also, work on a stable surface like a wooden cutting board or a concrete floor. This helps avoid slips and accidents.
- Be careful with sharp tools like pliers, scissors, or utility knives. Keep them away from kids and pets. Also, be careful with your movements to avoid cuts or scratches.
- Make sure you have good air when using adhesives, sealants, or chemicals. This keeps you safe from harmful fumes and makes your crafting space healthier.
- Take breaks and stretch often. This helps prevent getting tired or straining your muscles, which is important when doing detailed or repetitive tasks.
By following these simple safety tips, you can enjoy making bottle cap jewelry without worrying about your safety. A little caution can make your upcycled crafts experience safe and rewarding.
In Summary
Bottle cap jewelry is a fun way to turn everyday items into sustainable fashion pieces. You can learn to make your own unique designs. This lets you show off your personal style.
Joining recycled jewelry groups or online forums is a great idea. You can share ideas, get inspired, and show off your work.
Bottle caps are very versatile. They can be decorated in many ways, making jewelry-making rewarding. You can enjoy the colors, patterns, or the joy of making something from waste.
By using recycled materials, you can show off your style and help the planet. So, get creative, try new things, and let your jewelry be a symbol of sustainable fashion and upcycling.
Quick Questions:
What basic tools are needed to make bottle cap jewelry?
You’ll need a hammer, awl, jewelry pliers, round-nose pliers, and wire cutters.
What materials are required for bottle cap jewelry making?
You’ll need bottle caps, head-pins, ear wires, jump rings, and beads. You can also use scrapbook paper, magazines, Mod Podge, and dimensional adhesives like Ranger’s Glossy Accents for decoration.
How do I prepare the bottle caps for jewelry making?
First, wash the bottle caps with soap and water. Then, dry them with a paper towel. You can use old caps or buy new ones from stores or online.
How do I create holes in the bottle caps for attachments?
Use a hammer and nail to make holes. For necklaces and earrings, make a small hole near the top. For belts or bracelets, make a larger hole in the center. To flatten the edges, hammer the cap on a flat surface.
What techniques can I use to decorate the bottle caps?
You can make mini-collages with scrapbook paper or magazine cutouts. Use a template for image placement. Try different beads and embellishments for unique designs. Apply Mod Podge and add paper or images, then seal with more Mod Podge or Glossy Accents.
How do I make bottle cap earrings?
For dangly earrings, attach jump rings to bottle caps and add chain. For simpler earrings, use head-pins, beads, and ear wires. You can add multiple holes for more designs.
How do I make bottle cap necklaces and pendants?
For pendants, attach jump rings to bottle caps and choose a chain. Use pliers to close jump rings and attach chains for necklaces.
How do I create bottle cap bracelets and pins?
For bracelets, connect bottle caps with jump rings or rivets. For pins, glue pin findings to the back of bottle caps. You can make sets for a matching look.
What are some common issues to watch out for when making bottle cap jewelry?
Fix uneven surfaces by flattening caps or using thick sealants. Make sure attachments are secure. Test your jewelry before wearing.
What safety precautions should I take when making bottle cap jewelry?
Wear protective eyewear when hammering or cutting. Work on a stable surface. Handle sharp tools carefully and keep them away from children. Use adhesives in a well-ventilated area.


