How to Seal a Cork Bottle with Wax: Step-by-Step Process
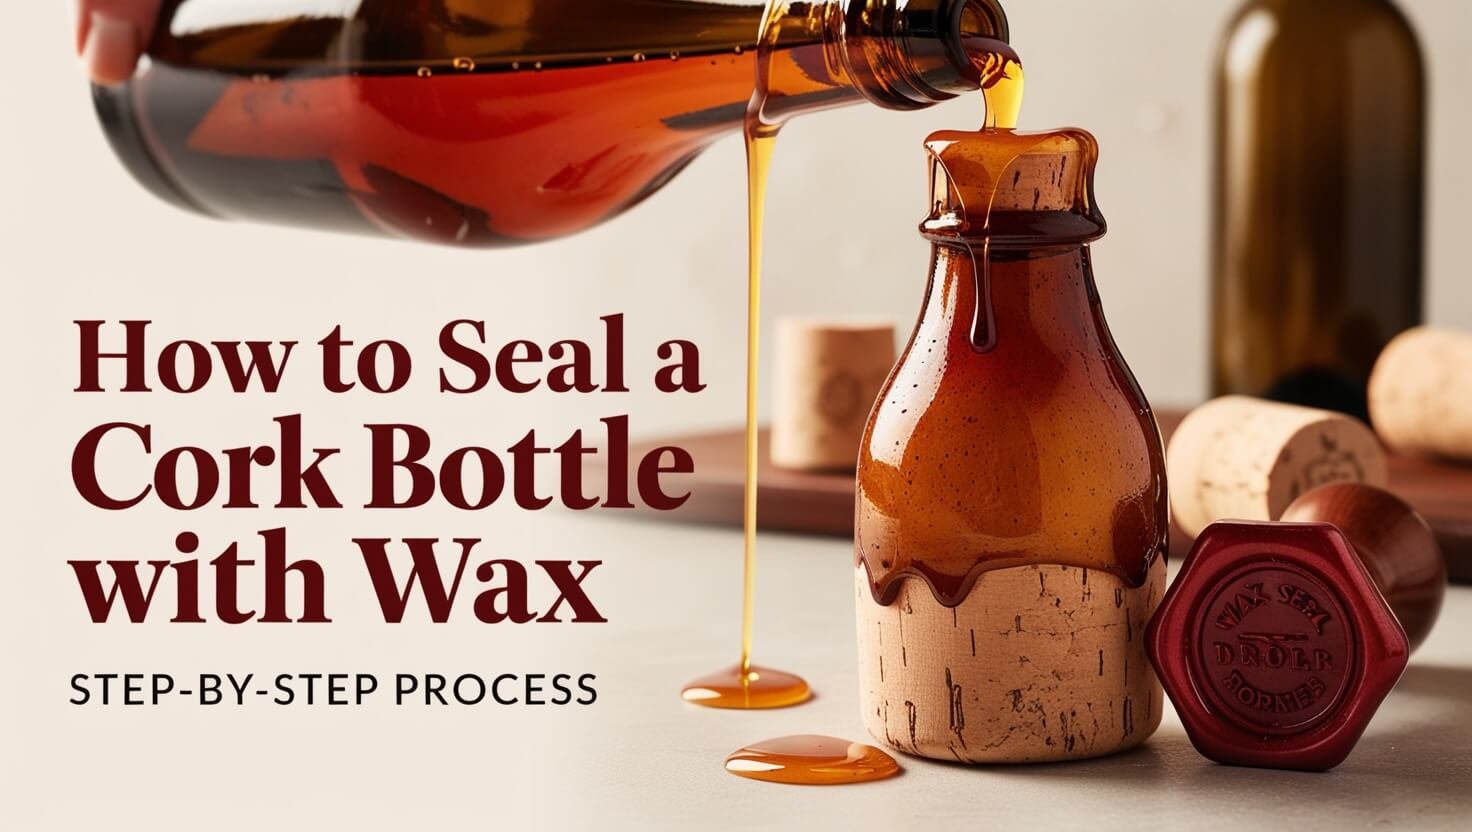
Ever thought about adding a vintage touch to your homemade wines or meads? Wax sealing your cork-topped bottles can do just that. But is it really that easy? Learn the key techniques, materials, and safety tips to make your bottles look like they were made by a pro in this detailed DIY guide.
Essential Materials and Equipment for Bottle Waxing
Waxing bottles can be a fun DIY project. But, you need the right stuff to do it right. From safety gear to special waxes, we’ll cover what you need for a great bottle waxing job.
Safety Equipment Checklist
- Heat-resistant gloves to protect your hands from the hot wax
- A reliable thermometer to monitor the wax temperature
- A melting pot or double boiler to safely melt the wax
- A bucket of ice water to quickly cool the wax-dipped bottles
- A butter knife or similar tool to smoothen the wax seal
Waxing Tools and Supplies
While you can use things like candles or paraffin wax, it’s better to get bottle wax made for sealing corks. Companies like Etched Images, Walnut Hill Enterprises Inc., and E.C. Kraus have many wine bottle wax seal colors to pick from.
Types of Wax Available
For waxed cork seal, you have different waxes to pick from:
- Paraffin wax: It’s cheap but not as strong as bottle wax
- Beeswax: It’s natural, renewable, and smells nice
- Specialized bottle sealing wax: It’s made just for wine bottles, giving a strong and nice look
Using the right tools and wax makes a big difference. It helps you get a beautiful and useful bottle wax seal.
Benefits of Wax Sealing Bottles
Wax sealing bottles are great for wine lovers, collectors, and sellers. They create a tight seal that keeps moisture, air, and bacteria out.
One big plus is how it keeps the wine’s taste and smell fresh. The wax seal stops air from getting in, which helps the wine stay good for longer.
It also stops corks from drying out and letting air in. This is important because corks can dry out and spoil the wine if they’re not sealed properly.
Wax sealing makes bottles look fancy and professional. This makes them more appealing to collectors and wine lovers. It adds value and makes the wine a great choice for special events or gifts.
Plus, the wax seal keeps spills and leaks from happening. This is really helpful in damp or humid places. It keeps the wine clean and protects other things from getting damaged.
“Wax sealing is an age-old practice that has stood the test of time, providing unmatched protection and preservation for fine wines and spirits.”
In short, wax sealing bottles have many benefits. They help keep the wine’s taste and smell good, protect the cork, make the bottle look nice, and prevent spills. This makes them very useful for anyone who loves wine, collects it, or sells it.
Selecting the Right Bottle Sealing Wax
Choosing the right wax for sealing bottles is key. Wax dipped bottles and bottle sealing wax vary in properties and benefits. Let’s look at the main options to guide your decision.
Paraffin vs. Beeswax vs. Specialized Bottle Wax
Paraffin wax and beeswax are common, but specialized bottle wax is best for wine and spirits. Paraffin can crack, and beeswax is too soft and fragrant. Specialized wax is durable and looks great, making it perfect for professional seals.
Color Options and Their Impact
The wax color greatly affects your wax dipped bottles look. Bottle sealing wax comes in many colors, from classic to modern. Pick a color that matches your wine or spirit and branding.
| Wax Type | Durability | Melting Profile | Color Options |
|---|---|---|---|
| Paraffin | Moderate | Brittle | Limited |
| Beeswax | Soft | Fragrant | Natural tones |
| Specialized Bottle Wax | High | Attractive | Diverse |
Choosing the right bottle sealing wax makes your bottles look great and last long. Think about your product’s needs and the look you want.
Bottle Preparation and Cleaning Process
Before you seal your bottles with wax, cleaning them is key. A clean surface is essential for a smooth wax seal. This step makes your how to seal a cork bottle with wax or sealing wine bottles look professional.
Start by washing the bottles with warm water and a bit of dish soap. Use a bottle brush to clean the inside. This removes dirt and old labels. For tough spots, a bottle scraper might be needed.
After cleaning, rinse the bottles well and let them dry. Or, use a soft cloth to wipe them dry. This prevents water spots and fibers.
Make sure the cork fits snugly at the bottle’s lip. This step is important to avoid air bubbles under the wax. A smooth cork surface helps the wax stick better.
These steps create a beautiful wax seal. It will make your bottles look great.
How to Seal a Cork Bottle with Wax
Sealing a cork bottle with wax adds elegance and premium quality. It involves dipping the bottle neck into melted wax. This creates a protective and decorative layer that boosts the presentation.
Temperature Control Guidelines
When working with wax, temperature control is key. The best melting temperature for sealing wax is between 275°F and 300°F (135°C to 148°C). This ensures the wax is liquid, making application smooth and even.
Proper Dipping Techniques
- Carefully dip the bottle neck into the melted wax, covering the cork and about 1/2 inch (1.25 cm) of the bottle neck.
- Allow any excess wax to drip off the bottle, creating a clean and uniform seal.
- For a more pronounced drip pattern, you can re-dip the bottle neck into the wax as desired.
Cooling and Setting Methods
After dipping, cool the wax to ensure it sets right. Swirl the bottle in ice water for about 10 seconds. Then, let the wax set completely, which takes about 30 minutes.
| Wax Dipping Temperature | Cooling Time | Wax Setting Time |
|---|---|---|
| 275°F – 300°F (135°C – 148°C) | 10 seconds in ice water | 30 minutes |
By following these guidelines, you can get a professional-looking waxed cork seal. It will enhance the appeal and presentation of your bottled products.
Achieving Professional-Looking Drip Patterns
Creating beautiful drip patterns on your wax-sealed bottles is an art. It’s about controlling the dipping depth and angle. This lets the wax flow naturally, adding elegance to your bottles.
To get these stunning patterns, let the wax drip freely. Don’t push it too hard, as this can mess up the flow. Practice makes perfect. Try it on old bottles until you get the look you want.
- Change the dipping depth and angle to shape the pattern. Shallow dips make delicate drips, while deep dips create bold ones.
- Try different dips to layer the wax. This adds depth and interest to your design.
- Keep the waxing temperature steady. This helps the wax drip evenly.
With these tips, you can turn simple wax bottle seals and wine bottle wax seals into stunning pieces. They’ll make your presentation stand out and leave a lasting impression.
Safety Precautions During Wax Sealing
Sealing a cork bottle with wax or using wax sealing bottles needs careful attention to safety. Working with hot wax can be dangerous if not done right. Here are key safety tips to follow for a safe and successful wax sealing experience.
Fire Safety Measures
Wax is very flammable, so fire safety is a must. Always have a fire extinguisher ready and never leave wax melting alone. Be careful with gas stoves, as some waxes burn more easily. It’s safer to use an electric deep fryer or a dedicated wax melter for controlled heat.
Personal Protection Guidelines
Wear long-sleeved shirts and safety gloves when handling hot wax. Wax can get over 200°F (93°C), so protect your skin from spills. Also, check the wax’s safety guidelines for any extra protective gear you might need.
By taking these simple safety steps, you can enjoy sealing a cork bottle with wax or using wax sealing bottles safely. Always prioritize safety when working with hot, flammable materials.
Proper Storage of Wax-Sealed Bottles
Keeping your wax-sealed bottles in top shape is key. Whether they hold wine, liquor, or decorations, right storage keeps them looking great. This ensures your wax work lasts a long time.
Store wax-dipped bottles on their sides. This keeps the cork moist, stopping air from getting in and keeping the wine’s taste. It also lets sediment settle at the bottom, making the bottle look better.
Check the wax seals before putting bottles away. Damaged seals can let air in, ruining the contents. Keep your bottles in a cool, dark spot. Heat and light can harm the wax and the aging process.
Wax Seal Maintenance Tips
- Keep the temperature between 55-65°F (13-18°C) for best aging.
- Avoid big changes in temperature to prevent wax from cracking.
- Keep bottles away from direct sunlight to prevent damage to wax and contents.
- Check wax seals often for signs of wear and fix any problems quickly.
By storing your wax-dipped bottles right, you keep them looking and tasting great. This way, your wine, spirits, or decorations stay special for years.
| Sealing Method | Wax Usage | Sealing Capacity |
|---|---|---|
| Dipping whole bottle neck | 1 lb of wax | 40 to 80 bottles |
| Pouring wax directly onto cork | 1 lb of wax | Approximately 150 bottles |
Proper storage and care of your wax-dipped bottles is vital. It keeps your collection looking and tasting great. By following these tips, you can enjoy your wax-sealed treasures for many years.
Removing Wax Seals from Bottles
When you find a wax bottle seal or open a cork bottle with wax, removing the wax can be tricky. The type of wax used affects how easy it is to remove. Some wax seals come off without a problem, while others need a gentle touch to avoid damage.
Traditional Removal Methods
To remove wax seals, you can use a butter knife or a similar tool. Gently lift the edge of the wax seal. Once you’ve made a small gap, pull the wax off in one smooth motion.
Have a clean cloth ready to wipe away any leftover wax from the bottle neck.
Using Tear Tape Technique
Some producers use a thin adhesive tape, called “tear tape,” in the wax sealing process. This tape is applied around the bottle neck before adding wax. It leaves a small tab exposed.
When it’s time to open the bottle, just pull the tab. The wax will come off cleanly.
Choose the removal method that fits your needs. Whether you want a simple opening or a more elegant presentation, the right technique will help. With care and the right method, you can enjoy the contents of those beautifully wax-sealed bottles.
Troubleshooting Common Waxing Issues
Waxing bottles can be a fun DIY project, but it comes with its own set of problems. Whether you’re experienced or new, you might face some common issues. Don’t worry, we’ve got some tips to help you have a smooth wax sealing experience.
Uneven Wax Coating
Getting a smooth, even wax coat can be hard, but it’s key for a professional look. Make sure the wax is at the right temperature and use a steady dipping motion. If the coverage is uneven, try adjusting the wax temperature or your dipping speed and angle.
Pesky Bubbles
Bubbles in the wax can be annoying, but they’re usually simple to fix. Ensure your cork is tight and the wax is the right consistency. If bubbles keep showing up, try dipping slower or gently tapping the bottle to release air.
Cracking Wax
Wax that cracks easily might mean the cooling process wasn’t right. Try adjusting the cooling time or switching to a different wax, like bottle sealing wax. This type might be more flexible and less likely to crack.
Cleanliness is key when wax sealing. Always clean your tools well between uses to avoid contamination and get the best results. With a bit of practice and these tips, you’ll be sealing bottles like a pro in no time!
Decorative Techniques and Custom Seals
Make your wax-dipped bottles stand out with creativity. Try layering different colors for a unique look. Add custom stamps or seals to make your wine bottle wax seal your own.
Adding Personal Touches
Make your wax seals special with custom stamps or seals. You can use your logo, initials, or any design you like. The options for personalizing your bottles are endless.
Creating Custom Patterns
Play with the wax to create cool patterns and designs. Use tools to shape the wax or change the drips’ direction. Adding metallic powders or glitter can add sparkle.
Test your techniques on practice bottles first. This way, you can perfect your method and get a professional finish on your final bottles.
| Ingredient | Quantity |
|---|---|
| Crayons | 15 (45 grams) |
| Low-Temp Glue Sticks | 30 (90 grams) |
The homemade bottling wax recipe makes 5 to 6 seals. Making a DIY wax seal stamp costs $5 to $10 and takes about 30 minutes.
Let’s Wind UP
Sealing a cork bottle with wax is a special technique. It makes your homemade wines, meads, or other products look great. It also helps keep them fresh. With a bit of practice, anyone can learn to seal bottles beautifully.
Always be careful and use the best materials. Try different methods to get the look you want. Wax sealing adds charm and makes your bottles stand out, even if it’s not essential for keeping wine fresh.
If you love making wine or other drinks, learning to seal bottles with wax is fun. It’s a skill that makes your products look unique and special. So, get creative and enjoy the process of making your bottles look amazing.
Most Common FAQ:
What is the purpose of sealing a cork bottle with wax?
Wax sealing cork bottles adds a unique, vintage look to wine, mead, and other bottled products. It creates a true seal on the bottle. This protects against moisture and bacteria, preserving the flavor and aroma of the contents.
What equipment is needed for wax sealing bottles?
You’ll need safety gloves, a thermometer, a melting pot, a butter knife, and a bucket of ice water. It’s best to use specialized bottle sealing wax instead of candle wax, paraffin, or beeswax.
What are the benefits of wax sealing bottles?
Wax sealing prevents cork deterioration. It gives bottles a unique and polished look. It’s also great for products stored in damp areas like cellars to prevent spills.
How do I choose the right type of bottle sealing wax?
Choose specialized bottle wax over paraffin or beeswax for its durability and attractive melting properties. Think about the wine type and the look you want when picking wax color.
How do I prepare the bottles for wax sealing?
Clean bottles with warm water and liquid dish detergent. Remove stubborn residue or labels. Make sure corks are flush with the bottle lip to prevent air bubbles under the wax seal.
What is the step-by-step process for sealing a cork bottle with wax?
Melt the wax to 275-300°F. Dip the bottle neck into the melted wax. Let excess drip off. Cool the bottle in ice water. Let the wax set completely for about 30 minutes.
How can I achieve professional-looking drip patterns on the wax seal?
Control drip patterns by adjusting dipping depth and angle. Let wax drip naturally for an authentic look. Try multiple dips for more pronounced drip patterns.
What safety precautions should I take when wax sealing bottles?
Wear long-sleeved shirts and safety gloves. Keep a fire extinguisher nearby. Never leave melting wax unattended. Be careful with gas stoves as some waxes are flammable.
How should I store wax-sealed bottles?
Store wine bottles on their sides to keep corks moist. This prevents oxygen penetration. Make sure wax seals are intact before storage. Store in a cool, dark place.
How can I remove the wax seal from a bottle?
Use a traditional method of gently lifting the wax edge and pulling it off in one motion. Or apply thin adhesive tape around the bottle neck before waxing. Then, pull the tab to easily remove the wax.
How can I troubleshoot common issues with wax sealing?
Fix uneven coating, bubbles, or cracking by ensuring proper wax temperature and consistent dipping technique. Check cork placement and try different wax types.
What decorative techniques can I use for custom wax seals?
Try multi-color layering, custom stamps or seals for branding, and manipulating drip direction. Add metallic powders or glitter for unique effects.

