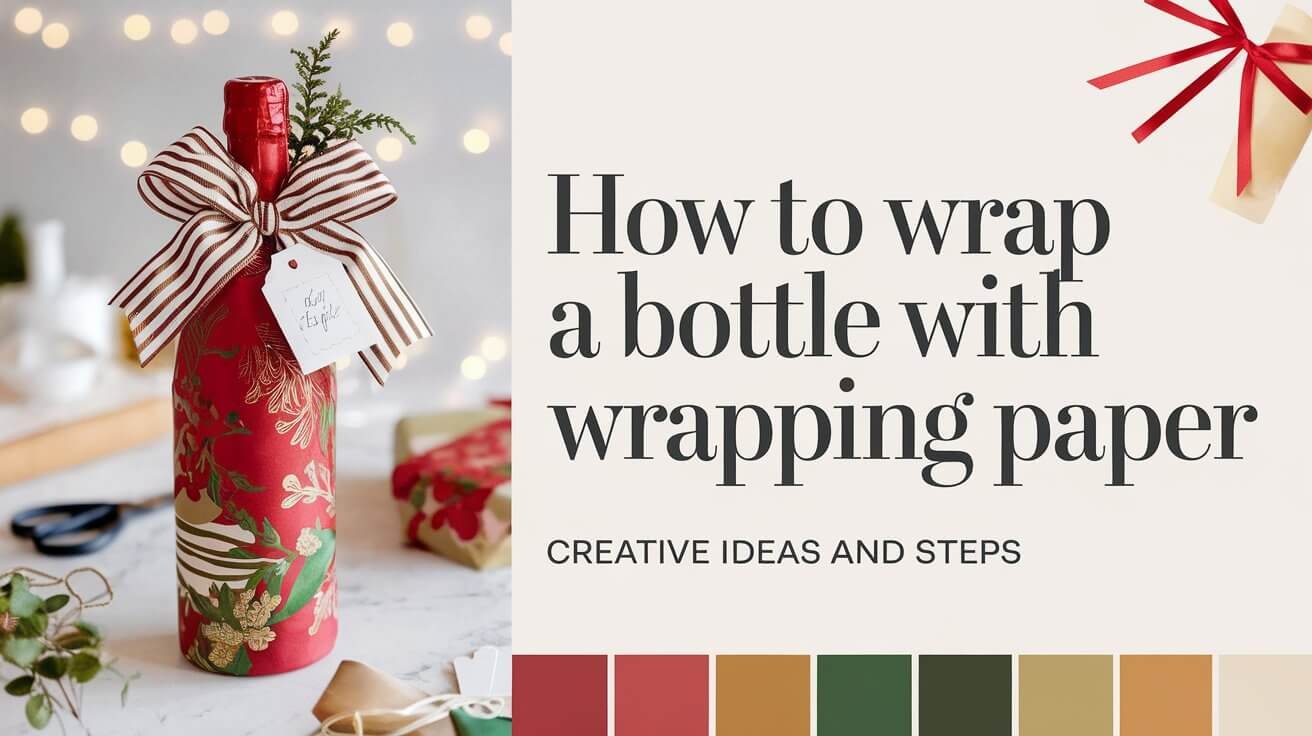
How to Wrap a Bottle with Wrapping Paper: Creative Ideas and Steps
Want to make your gift special? A beautifully wrapped bottle of wine, spirits, or liquor is a great choice. We’ll show you how to do it like a pro. You’ll learn simple techniques and use materials you already have.
But here’s a secret: Did you know there are multiple methods to expertly wrap a bottle? We’ll share the hidden tricks that will impress everyone at your next party.
Essential Tools and Materials for Bottle Wrapping
Wrapping a bottle as a gift is more than just using any wrapping paper. Choosing the right materials and tools is key to a professional and beautiful presentation. Whether it’s a classic wine bottle or an oddly shaped gift, having the right tools makes wrapping easy and fun.
Types of Wrapping Paper Best Suited for Bottles
Not all wrapping paper is created equal for bottles. Look for larger sheets, like 11×17-inch or 11×22-inch, to fit the bottle. Tissue paper adds a soft, elegant touch. For something special, try wrapping papers made just for wine and liquor bottles.
Required Tools and Accessories
- Measuring tape or ruler
- Scissors
- Tape
- Ribbon or string
- Optional: Single-hole puncher (for the hole-punched bow method)
Optional Decorative Elements
To make your bottle gift even more special, add some extra touches. Consider these:
- Gift tags or labels
- Bows, either pre-made or DIY
- Seasonal ornaments or other thematic embellishments
With the right materials and tools, you can make a bottle gift that will wow the recipient.
| Wrapping Material | Advantages | Disadvantages |
|---|---|---|
| Wrapping Paper | Versatile, can be customized, durable | May not fit oddly shaped bottles well |
| Tissue Paper | Soft, elegant, can create unique textures | Potentially less durable, may require multiple layers |
| Specialty Bottle Wraps | Designed for bottle shapes, can be reused | Limited customization, may cost more |
How to Wrap a Bottle with Wrapping Paper
Wrapping a bottle, like wine or a special drink, adds elegance and a personal touch to your gift. You need to measure and cut the paper, make a base fold, wrap the paper around the bottle, and finish the top. Here are three easy ways to wrap a bottle with paper:
- Hole-Punched Bow: You’ll need an 11×17-inch piece of paper. Start by folding the paper 2.5 inches at one end. This fold is the base for the bow.
- Fanned-Out Top: For this, use an 11×22-inch piece of paper. Fold the paper in half-inch segments forward and backward. Keep folding until you reach the bottle’s top for a pleated look.
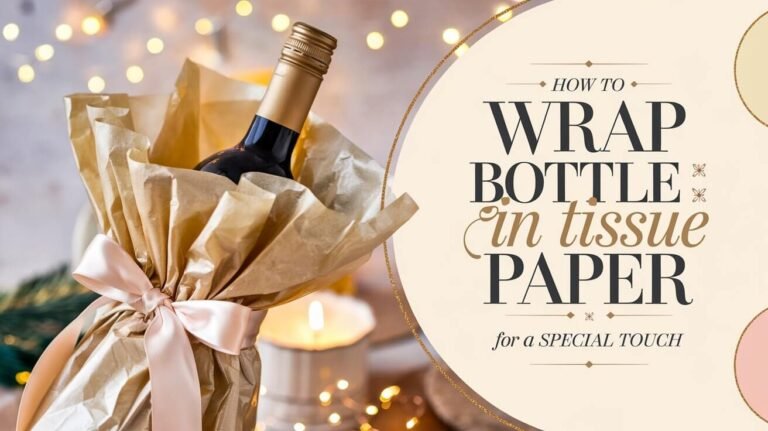
- Tissue Wrap: This method uses one sheet of tissue paper. Wrap the bottle, leaving 3-4 inches of paper at the top for decoration.
These methods offer beautiful ways to present your bottle packaging. Whether it’s a wine bottle for a special event or a unique drink as a gift, these techniques make your how to wrap a bottle with wrapping paper look professional and personal.
Preparing Your Workspace and Measuring Paper
Wrapping bottles with gift wrapping paper needs some prep for a pro look. Start by setting up a clean, flat area to work on. This could be a table, counter, or a big cutting board. Make sure you have enough room to move the bottle and paper easily.
Correct Paper Measurements for Different Bottle Sizes
For standard 750-milliliter wine or Champagne bottles, use 11×17-inch or 11×22-inch paper. These sizes cover the bottle well and look neat. If your bottles are different sizes, just change the paper size. The paper should wrap around the bottle fully, without too much extra.
Surface Preparation Tips
- Lay the bottle horizontally and parallel to the long side of the paper, leaving about 2 inches on the base side and 8 inches on the top side.
- Use a measuring tape or ruler to ensure accurate paper dimensions for a perfect fit.
- Consider decorative elements like ribbons, bows, or tags to add a personal touch to your gift wrapping.
By setting up your workspace and measuring the paper right, you’re on your way to beautiful gift wrapping. Your gift wrapping bottles and wrapping paper techniques will look professional.
Traditional Bottle Wrapping Method
Wrapping a bottle in paper can make it look elegant. The traditional method is a classic way to present a how to wrap a bottle with wrapping paper or bottle gift presentation. Here’s how to do it step by step.
- First, measure and cut a piece of wrapping paper that’s a bit bigger than the bottle. It’s usually around 11 x 22 inches, but it depends on the bottle’s size.
- Wrap the paper around the bottle tightly. Use tape or adhesive to keep it in place.
- Make a 2.5-inch fold at one end of the paper to create a base. Press the sides in to form a diamond.
- Fold the upper and lower corners of the diamond into the middle. Then, tape them together to keep the shape.
- Put the bottle inside the wrapped base and adjust it for a neat look.
This traditional method is easy and elegant. It’s perfect for beginners or those who want a classic look. With a few folds and some tape, you can make a simple bottle look like a beautiful gift.
Creating Professional-Looking Base Folds
Mastering bottle wrapping is all about a polished finish. The base folds are key. With a few simple steps, any bottle can become a beautifully wrapped gift.
Triangle Fold Technique
The triangle fold is great for a sturdy, symmetrical base. Begin with a 2.5-inch fold at the bottle’s base, making a diamond. Then, fold the diamond’s corners inward for a sleek triangle shape. Finish with a bit of tape for a clean look.
Securing the Bottom
A well-wrapped bottle should stand firm. To make sure, tuck and secure the paper around the bottle’s bottom. Use small pieces of tape to keep the folds in place. This detail will make your wrapping paper techniques look professional, turning your bottle packaging into a work of art.
Elegant Top Closure Techniques
Wrapping wine bottles or other bottles can be a fun project. The right finishing touch can make a big difference. Try these stylish top closure techniques to add elegance to your bottle presentation.
Hole-Punched Bow
For a chic look, make a hole-punched bow. Fold the paper opening over the bottle top and secure it with tape. Then, make two single-hole punches and thread a ribbon through for a classic bow.
Fanned-Out Top
Get a striking look with a fanned-out top. Start with an accordion fold at the bottle’s top. Secure it with tape and shape the paper into a fan.
Tissue Wrap Topping
For a delicate finish, wrap the bottle top in tissue paper. Leave the top open and tie a ribbon around the neck. This adds whimsy to your bottle wrapping.
Try these elegant techniques to make your wine bottle wrapping stand out. With a bit of creativity, you can turn a simple bottle into a masterpiece.
Tissue Paper Wrapping Style
Wrapping liquor bottles with tissue paper is quick and elegant. It’s perfect for last-minute gifts or special occasions. This method is easy and looks great.
Single Layer vs Multiple Layer Methods
You can use one or more layers of tissue paper for wrapping. A single sheet, folded in half, gives a simple yet stylish look. For a fuller look, use two or more layers.
Creating Decorative Top Effects
The charm of tissue paper wrapping is in the decorative top. Leave the top open and unfold it. Then, gather the tissue paper at the bottle’s neck and tie it with a ribbon or string.
This adds elegance and makes the tissue paper drape beautifully. You can also fold or pleat the tissue paper to look like a flower or bow. Try different folds to match your bottle and the occasion.
The tissue paper wrapping style is great for a quick and easy present wrapping tips for liquor bottle wrapping. It’s versatile and stylish, making your gift stand out.
Ribbon and Bow Decoration Ideas
Make your bottle gifts stand out with creative ribbon and bow decorations. Ribbons add elegance and personal touch, turning a simple package into a stunning work of art.
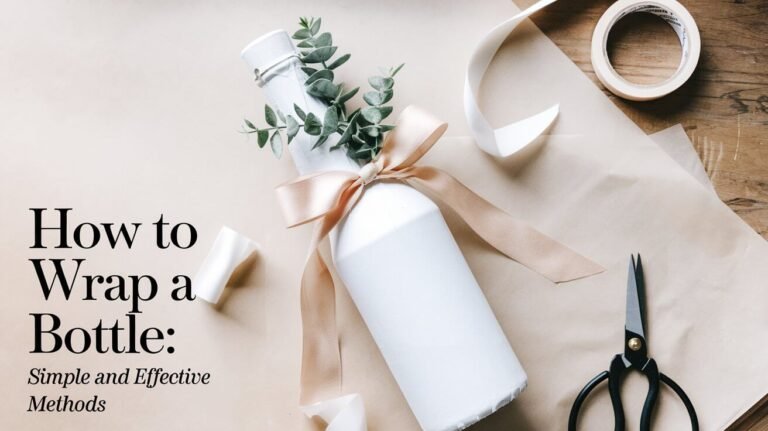
To make a classic bow, wrap about 1 meter of ribbon around the bottle and tie it. For something different, use the hole-punched method. Thread the ribbon through holes and tie it, creating a beautiful fan effect. Or, wrap the ribbon around the bottle and tie it just below the fold for a fanned-out look.
When using tissue paper, loop a ribbon around the bottle’s neck and tie a bow. Place it opposite the taped side for a balanced look.
Try wired ribbon for bows that keep their shape and look professional. Make sure your hands are clean when tying bows to avoid smudges.
| Technique | Ribbon Length | Ribbon Type | Decoration Effect |
|---|---|---|---|
| Classic Bow | Approximately 1 meter | High-quality, non-wired ribbon | Elegant, timeless bow |
| Hole-Punched | Varies based on bottle size | Wired ribbon or ribbon with structure | Fanned-out, decorative bow |
| Fanned-Out Top | Approximately 1 meter | Wired ribbon or ribbon with structure | Pleated, fan-like ribbon effect |
| Tissue Wrap Bow | Approximately 0.5 meter | Non-wired ribbon | Elegant neck bow, complementing tissue paper wrap |
Discover the endless options of ribbon and bow decorations. They can make your bottle gift presentation and creative bottle wrapping ideas truly special.
Creative Design Tips for Wine Bottles
Adding a touch of elegance to your wine bottles can make any occasion special. Whether it’s for a gift or a festive event, there are many creative ways to decorate.
Special Occasion Wrapping Styles
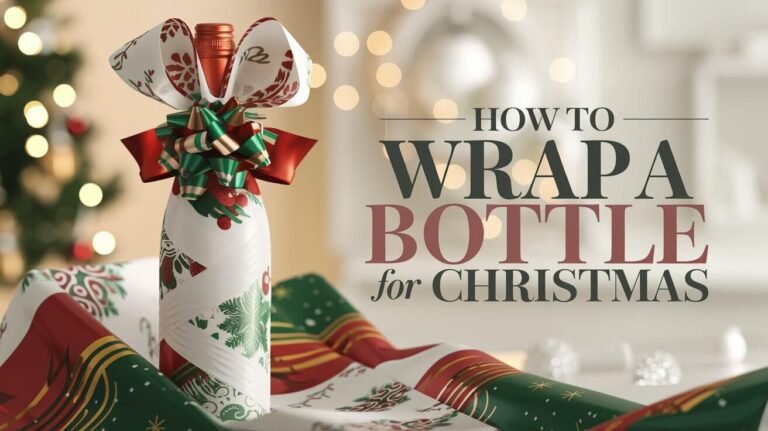
For big events, try themed wrapping paper or add small ornaments. For example, use snowflake paper for Christmas or add a tiny ornament. Playing with different textures and colors can also match the event or the person’s taste.
Seasonal Decorative Elements
Adding seasonal touches to your wine bottle wrapping makes it stand out. In spring, use flower petals or greenery for a natural look. For winter, wrap it in plaid or add pine sprigs and berries for a festive feel.
The main thing is to enjoy and express your style. With thoughtful details and seasonal elements, a simple bottle can become a unique and memorable gift.
Troubleshooting Common Wrapping Issues
Wrapping gifts, like bottles, can be tricky. But with the right techniques, you can solve any problem. Let’s look at common issues and how to fix them.
Preventing Paper Tears
Wrapping paper tears are frustrating. To stop this, use thicker paper or double tissue paper. This extra layer helps when wrapping uneven shapes.
Achieving Crisp, Even Folds
Getting folds neat and even is hard, like on bottles. Take your time and align edges carefully. Use your fingers to make sharp folds. If needed, a bone folder or ruler can help.
Tackling Bottle Bases
Wrapping bottle bases is tough. Try the triangle fold or use a bottle gift bag as a base. Then, wrap the top separately.
Keep these tips in mind to wrap oddly shaped gifts beautifully. Your gifts will be perfect for any occasion.
Quick and Easy Bottle Wrapping Hacks
Wrapping bottles can be fun but also takes a lot of time. Luckily, there are quick and easy ways to make your gifts look great without spending too much time. Whether it’s for a birthday, holiday, or any other special occasion, these tips can save you a lot of effort.
Time-Saving Techniques
One fast way to wrap a bottle is by using a pre-made gift bag for bottles. Just put the bottle in the bag, fold the top over, and tie it with a ribbon or tag. This is perfect for when you’re in a hurry.
Another quick trick is the tissue paper wrap. Place the bottle in the center of a tissue paper sheet, then fold the paper around it. Secure it at the top for a beautiful, see-through look.
Professional Shortcuts
For a more polished look, try the wrapped bottle tube method. Cut a piece of wrapping paper to fit, then wrap it around the bottle. Fold and tape one end, put in the bottle, and fold and tape the other end. It’s fast and works for different bottle sizes.
To add a fancy touch, use a hole-punched bow or a fanned-out top. The bow needs an 11×17-inch paper, and the top uses an 11×22-inch piece. Both make your gift look amazing.
Remember, the secret to quick bottle wrapping is being prepared. Measure your paper right, have all your tools ready, and practice these methods. Soon, you’ll be a pro at gift wrapping bottles.
Final Checkpoint
Wrapping a bottle can make a simple gift special. You can use traditional wrapping paper, tissue, or quick hacks. The important thing is to pick a method that fits your skill and time.
With a little practice, anyone can learn to wrap bottles beautifully. This skill is great for any occasion, making gifts more thoughtful and lovely.
This article showed many creative ways to wrap a bottle. From the “Hole-Punched Bow” to the “Burlap Wine Bottle Gift Wrap,” there’s something for everyone. Each method is perfect for different tastes and events.
Using these wrapping ideas, a bottle of wine can become a beautiful gift. You can choose the “Bottle Bag” for ease or the “Cellophane Extravaganza” for luxury. The options are endless for showing off your wine bottle in style.
General Questions:
What are the essential tools and materials required for wrapping a bottle?
You’ll need wrapping paper, a measuring tape or ruler, scissors, and tape. Also, a ribbon and a single-hole puncher for the bow method.
What type of wrapping paper works best for bottles?
Thin, glossy paper is better than stiff kraft paper. Adjust your measurements for different bottle sizes.
What are the main techniques for wrapping a bottle?
There are three main methods: the hole-punched bow, fanned-out top, and tissue wrap. Each needs different tools and steps.
How do I create a secure base for the bottle?
Start by folding the paper 2.5 inches at one end. Make a diamond shape by pressing the sides. Fold the corners into the middle and tape them together.
How do I finish the top of the bottle wrap?
For the bow, fold the paper over the bottle top and tape it. Make two holes and thread ribbon through for a bow. For the fanned-out top, fold the paper into an accordion and tape it. Then, shape it into a fan.
How can I use tissue paper for wrapping a bottle?
Use one sheet of tissue paper folded in half or multiple layers for more fullness. Place the bottle on the paper and roll it up. Fold the base carefully. Leave the top open, then gather the tissue and tie with a ribbon.
How do I add ribbon and bows to the bottle wrap?
Wrap about 1 meter of ribbon around the bottle and tie a bow. For the bow method, thread ribbon through the holes and tie. For the fanned-out top, wrap ribbon around the bottle and tie just under the fold.
What are some tips for creating unique and decorative bottle wraps?
Use themed wrapping paper or add small ornaments for special occasions. Add seasonal elements like miniature baubles for Christmas or flower accents for spring.
How can I troubleshoot common wrapping issues?
Use thicker paper or double-layer tissue to avoid tearing. Make sure to align edges carefully for even folds. If the base is tricky, try the triangle fold or use a pre-made bag as a base.
Are there any quick and easy bottle wrapping hacks?
For a fast wrap, use tissue paper or a pre-made bag. A shortcut is to make a wrapped bottle tube: cut paper, form a tube, fold and tape one end, insert the bottle, then fold and tape the other end.

